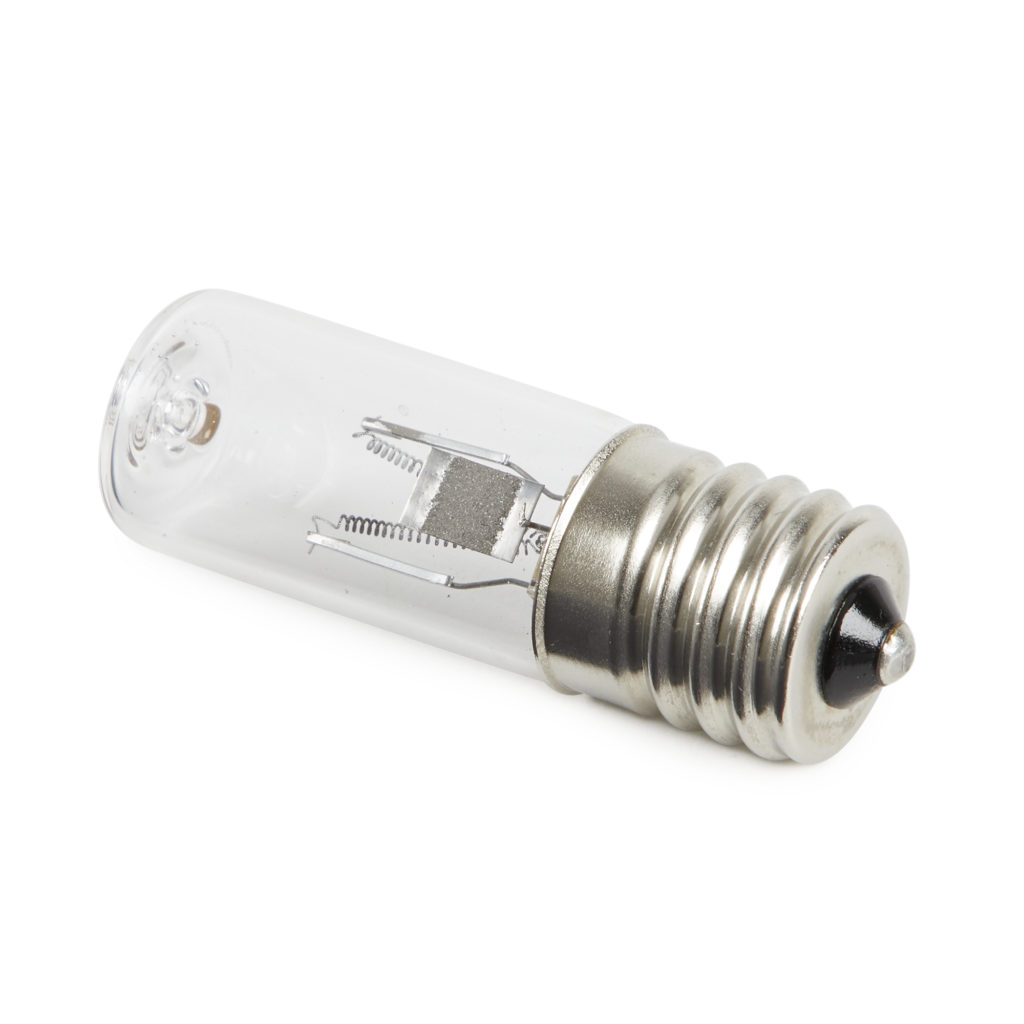
Want to drive a E17 3W UV-C bulb (the germicidal one, generating ozone or not depending of the version of the glass) from USB (or any battery)?
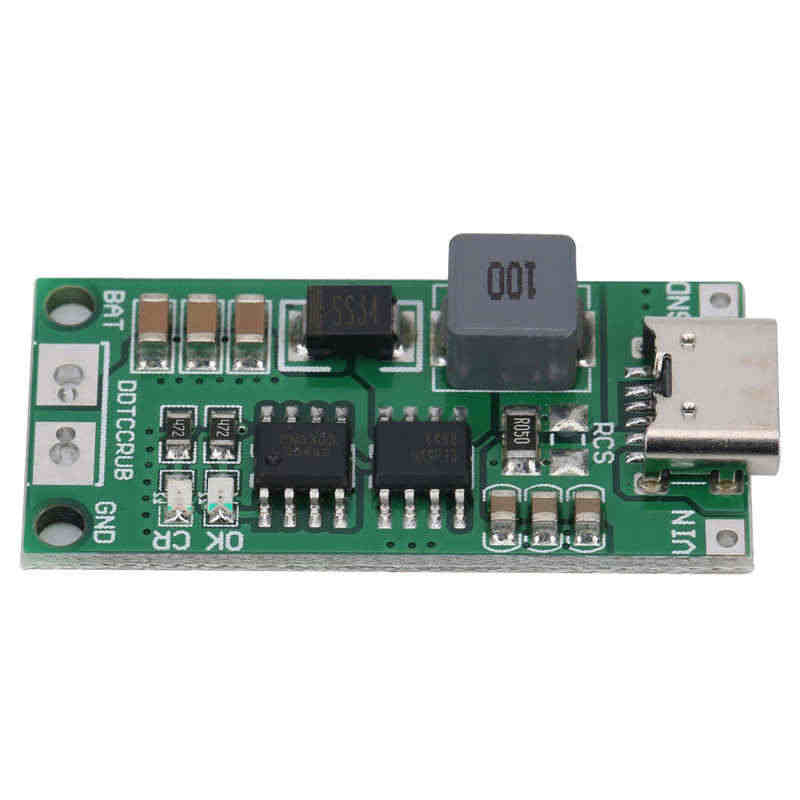
Use this DDTCCRUB 4S-2A Battery Charger Module Step Up Boost Li-Polymer
Change the RCS resistor from 50mOhm to 125mOhm (0.125 Ohm) to change the charging current to 300mA.
Remember, these bulb have to be supplied 16V (min) so the filament starts glowing, but once the arc is established, current has to be limited to 300mA (settling at around 10V)
Don’t let it run more than few sec on the front of your naked eye/skin.
Interstellar is an awesome movie, and the sound track is even better.
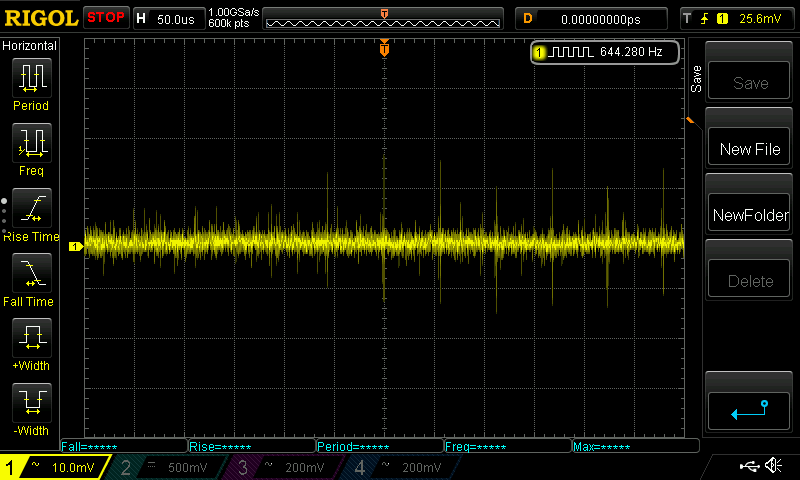
But after having listened it quite few times the original sound track, I quickly realize there is something wrong, not the loudness war, something worst: noise pickup during recording, not filtered out during mixing.
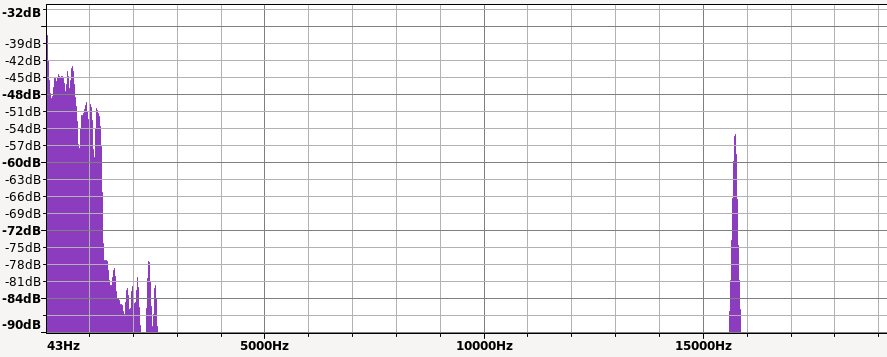
Track 06: Message from Home showing the 15735Hz peak at 51dB
Almost the complete album is tainted, for example, in this track, “Message from Home”, is a single piano recording showing this noise standing out clearely.
Dont get me started it’s because of the MP3 or format artifact, this is present on any version, MP3, FLAC, and even on Spotify online!
Here is an extract of this sound track, do you hear it? It hurts!
06 – Message from Home extract normal speed
If you cannot hear sounds around 16Khz, no problem, here pitched down version, to 0.5 with the noise is now at 8Khz if you don’t hear it, you may want to consult a specialist.
06 – Message from Home extract half speed
Because it may sound crazy that a multi million dollar movie, OST and sound track composer (Hans Zimmer) get away with this, I’ve looked up and found this reddit thread mentioning it:
Well, I’m not crazy after all and it look like it’s a Pilot Signal at “15.7342657 kHz is used to indicate the presence of MTS stereo.”
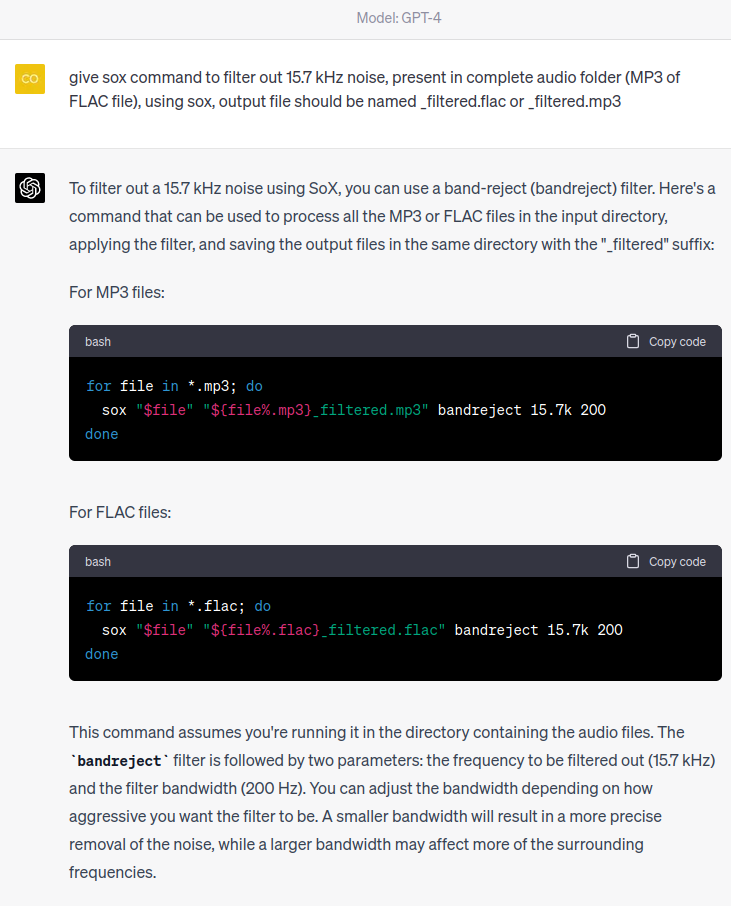
So that’s it, there is nothing to do, we are stuck with this (at least I can filter out my own version), but please, mixing engineers, next time, pay attention.
We all experienced it: light flicker! When concentrating on a piece of work or dead tree text, the light suddenly goes berserk and flash like a stroboscope on the dance-floor.
After fixing a TV with LED backlight, let’s dive in different performance of light fixture/light bulbs.
This effect is especially present in LED light fixtures where there is no inertia: incandescent or fluorescent light have a thermal or phosphor inertia and continue to glow a flick of second after the power is cut. But not the LED (even though there is some phosphor in them), this leads to have a close relation of the light intensity and the supply voltage.
Most of LED light bulb are supplied from main, the quality of the AC/DC converter takes a main role here. Because good rectification and filtering cost, manufacturer are cutting them, and you get this effect.
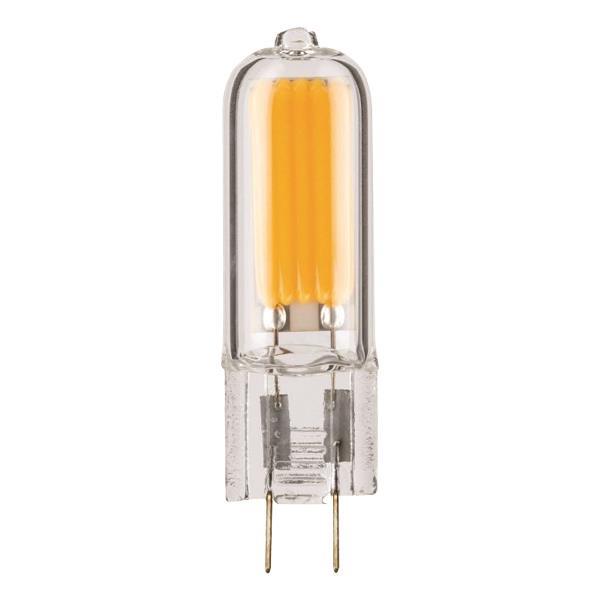
You can find two type of power supply on LED bulbs: simple rectification with LED string to match the AC rectified voltage. Or AC/DC converter with inductor and constant current control (this is what you want).
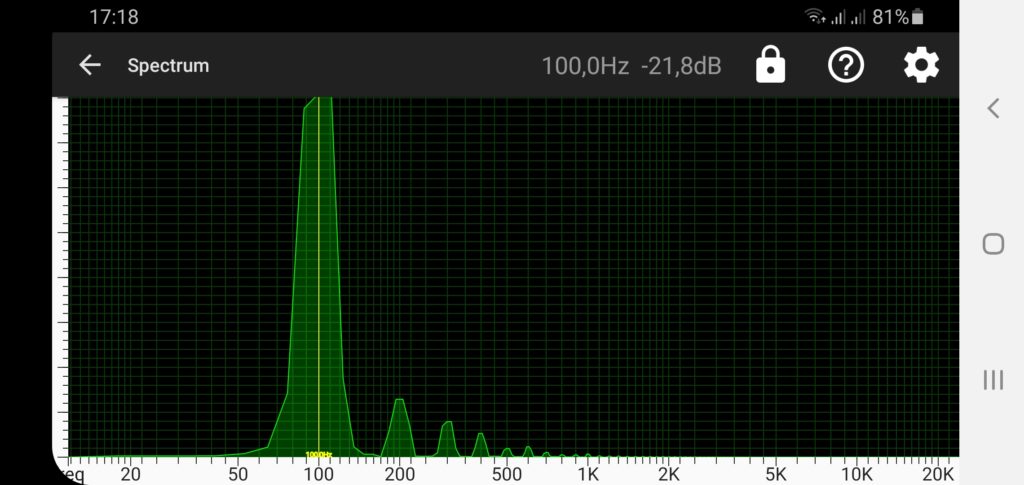
I wanted to “quantify” it, more that just a feeling, but didn’t want to drop hard cash (k€$ range) for dedicated equipment.
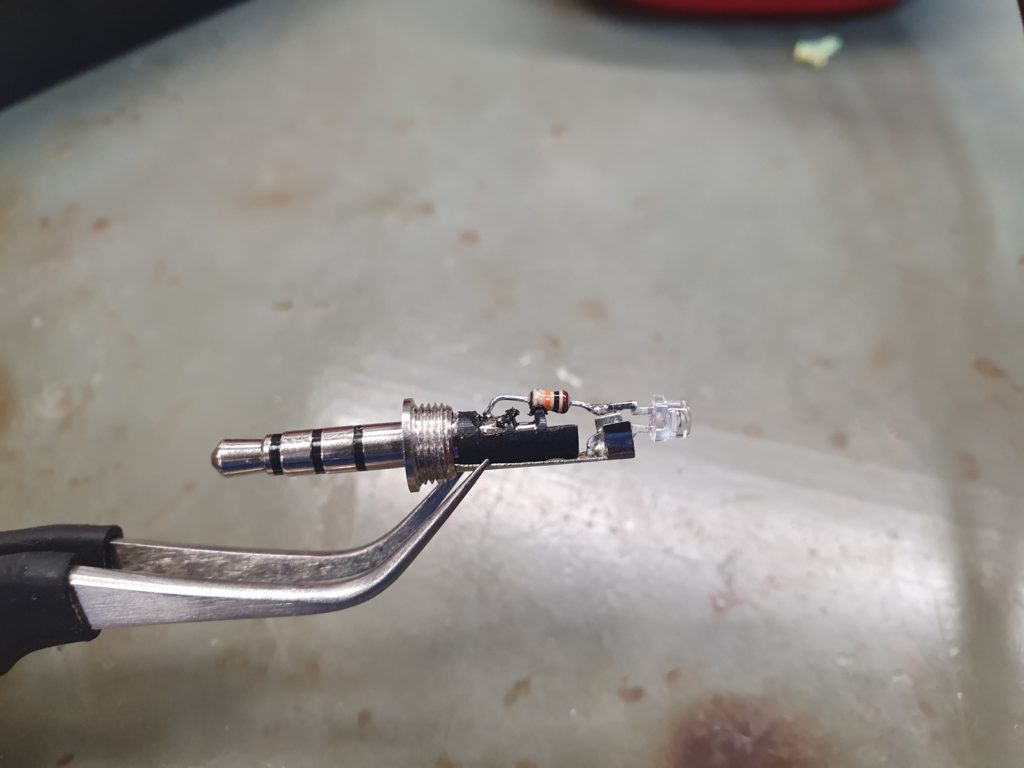
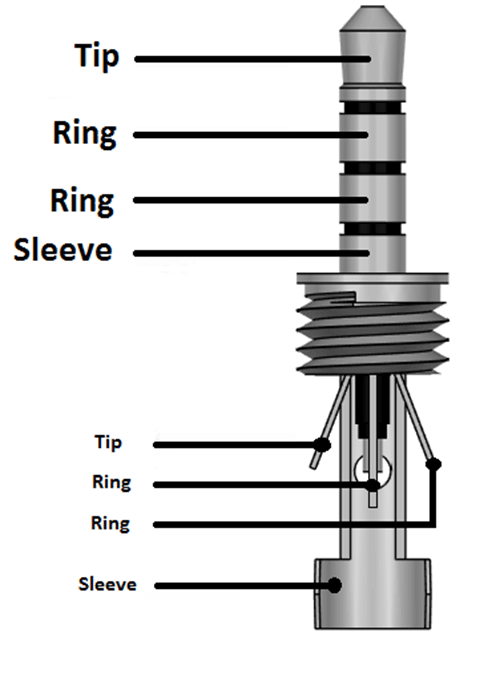
So I used one of the simplest and cheaper photo sensor on the market: a NPN phototransistor, (not a photoresistance as the bandwith is to small), in addition with a 10k resistor, connected to the GND (ring 2) and MIC (sleeve).
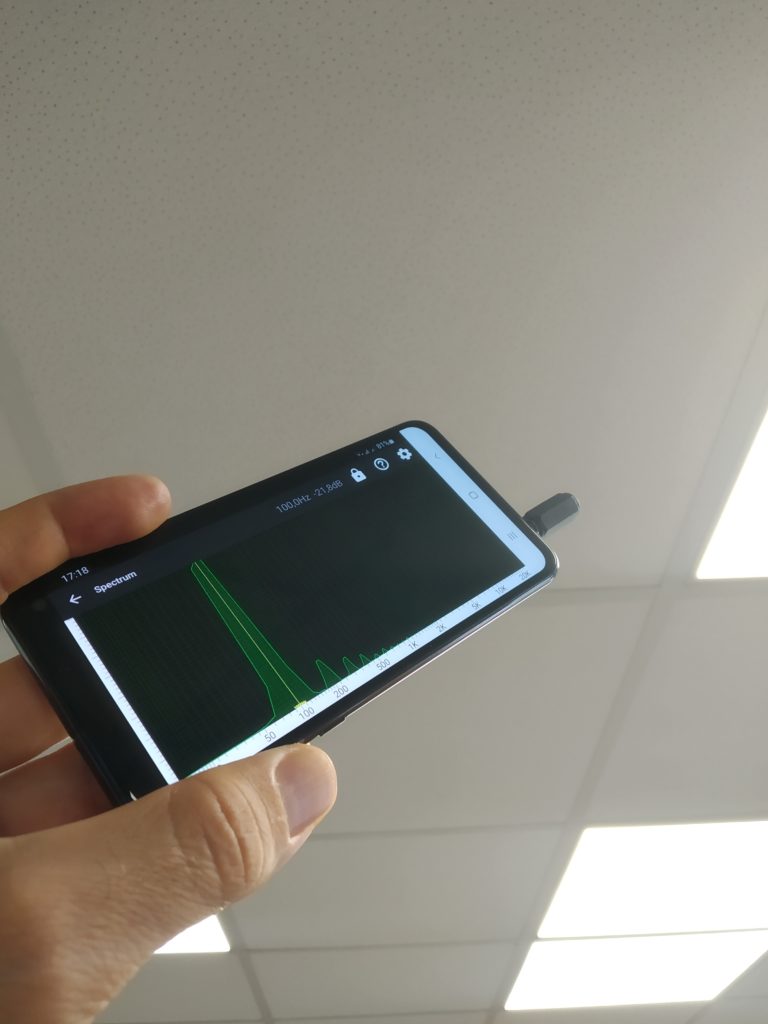
Then use a simple Android software, called Oscilloscope
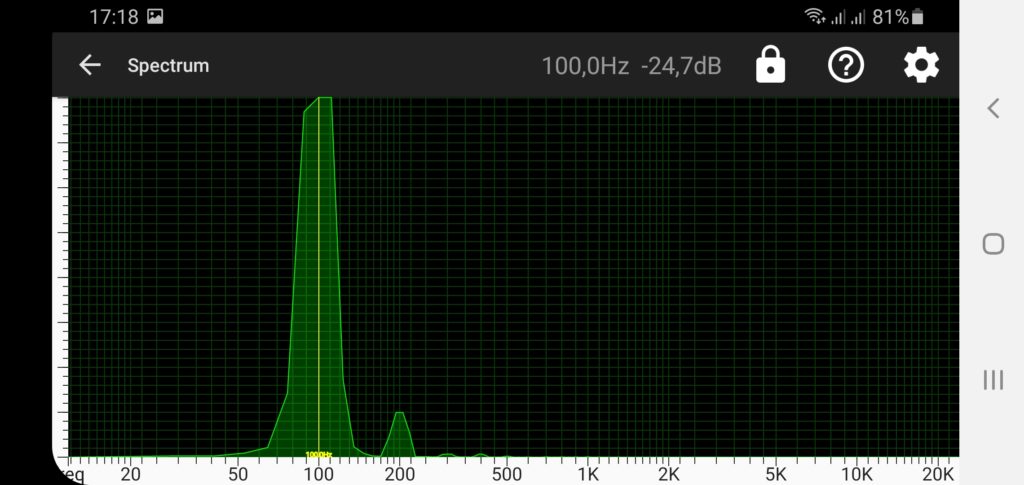
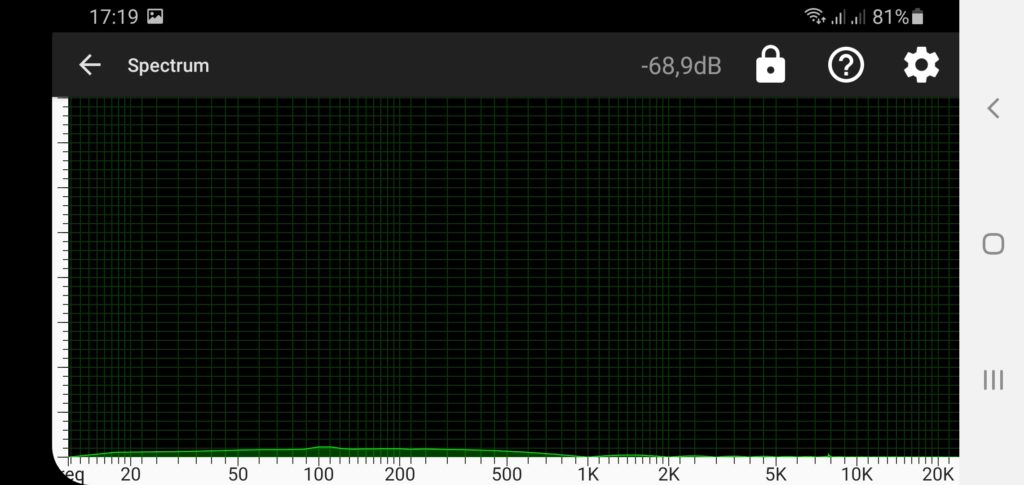
The result is then very straightforward, especially in spectrum analyzer:
Standard office ceilling panels with AC/DC block converter under the drop down ceilingUltra cheap LED light bulb COG (chip on glass) with bridge rectifier (4 diodes)100€/$ photo studio panel with external AC/DC power supply or battery operated
I now always have this small 3.5mm 4 ring photo-transistor adapter in my pocket when shopping light bulb/appliances in home improvement, so I can point it and discard the worst devices.
If someone comes up with a better idea, to measure more accurately amplitude and ideal the spectrum (would need a dedicated color sensor though), with an easy to use interface, that would be awesome.
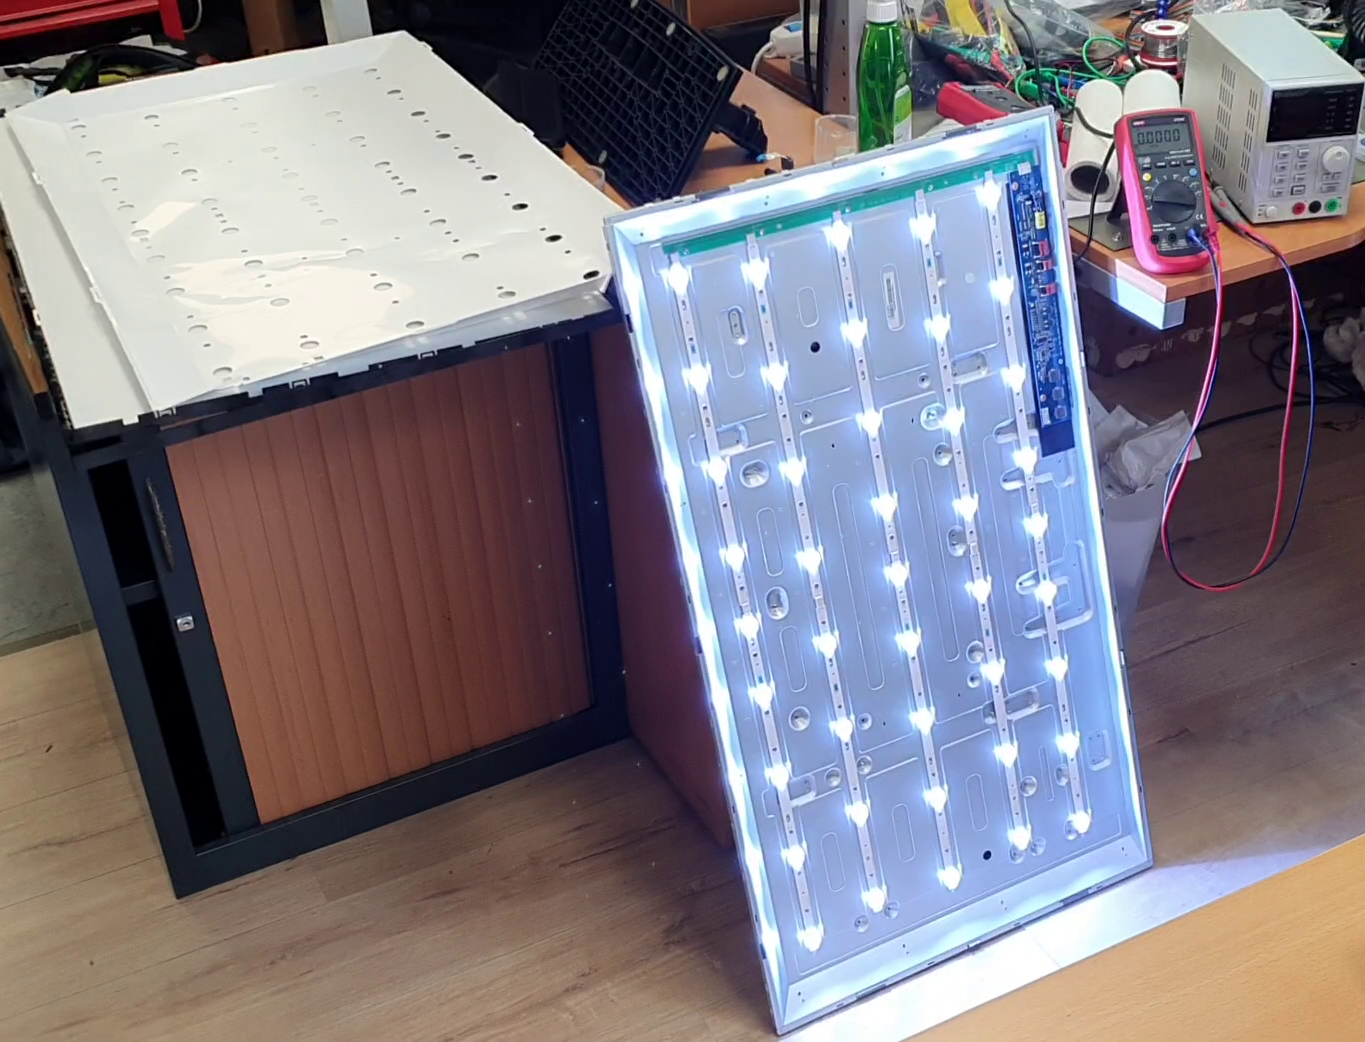
I’ve stumble upon a fairly common appliance, present in most home, built by million of unit, a TV.
This model is a GRUNDIG 40VLE5324BG with LED backlight: not starting anymore (one could see the “Grunding” logo or “signal not present” when flashing a strong light on it).
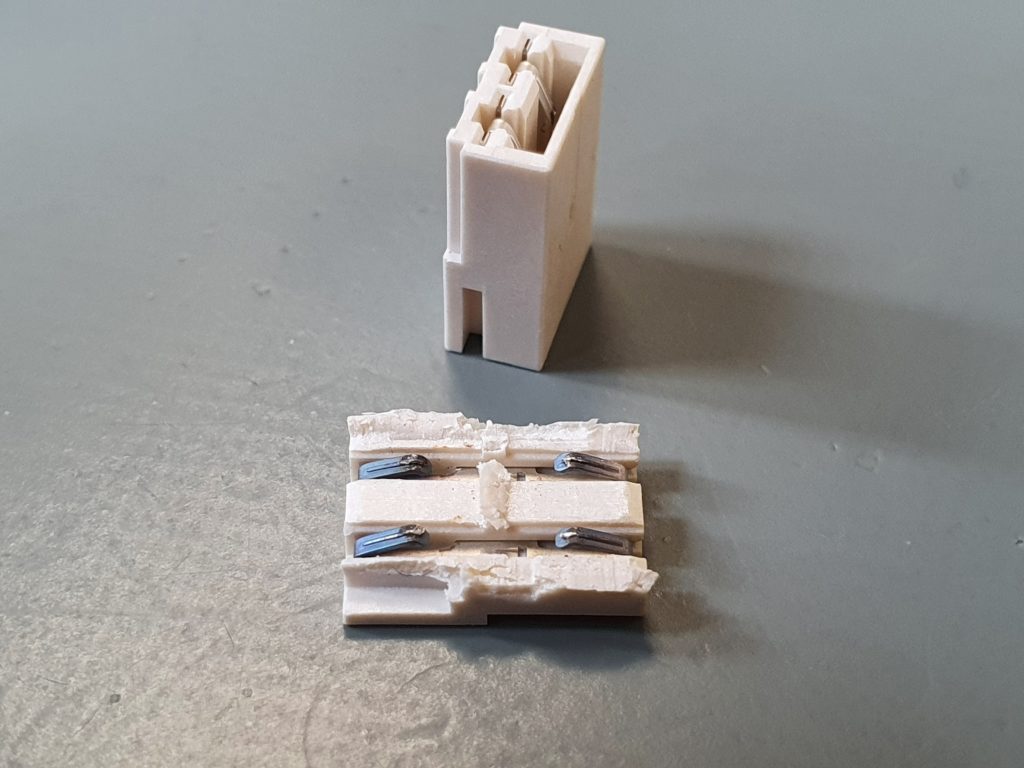
After seeking the net for a solution, removing dozen of screws, accessing the 100cm long LCD panel made of ultra thin glass with COG and flex PCB on side, I finally had access to the culprit: No, it was not the capacitor, not the LED driver, not even a LED but a single connector: PCB to PCB connector, designed to decrease assembly time and cost. As these LED string are serial driven (140V @ 400mA), a single failure will render the whole system useless.
Just wiggling the connector would start/stop the backlight:
In this case, slight flex, oxidation or poor connector plating cause the problem, and as the LED as serial connected, the connector is oxidized from long arcing:
And the connector:
Let’s strap these connector with a piece of wire and fix this stuff!
Cheap 5ct clip will render a 500€/USD TV after few years! Hurray to planned obsolescence and global grow and economy!
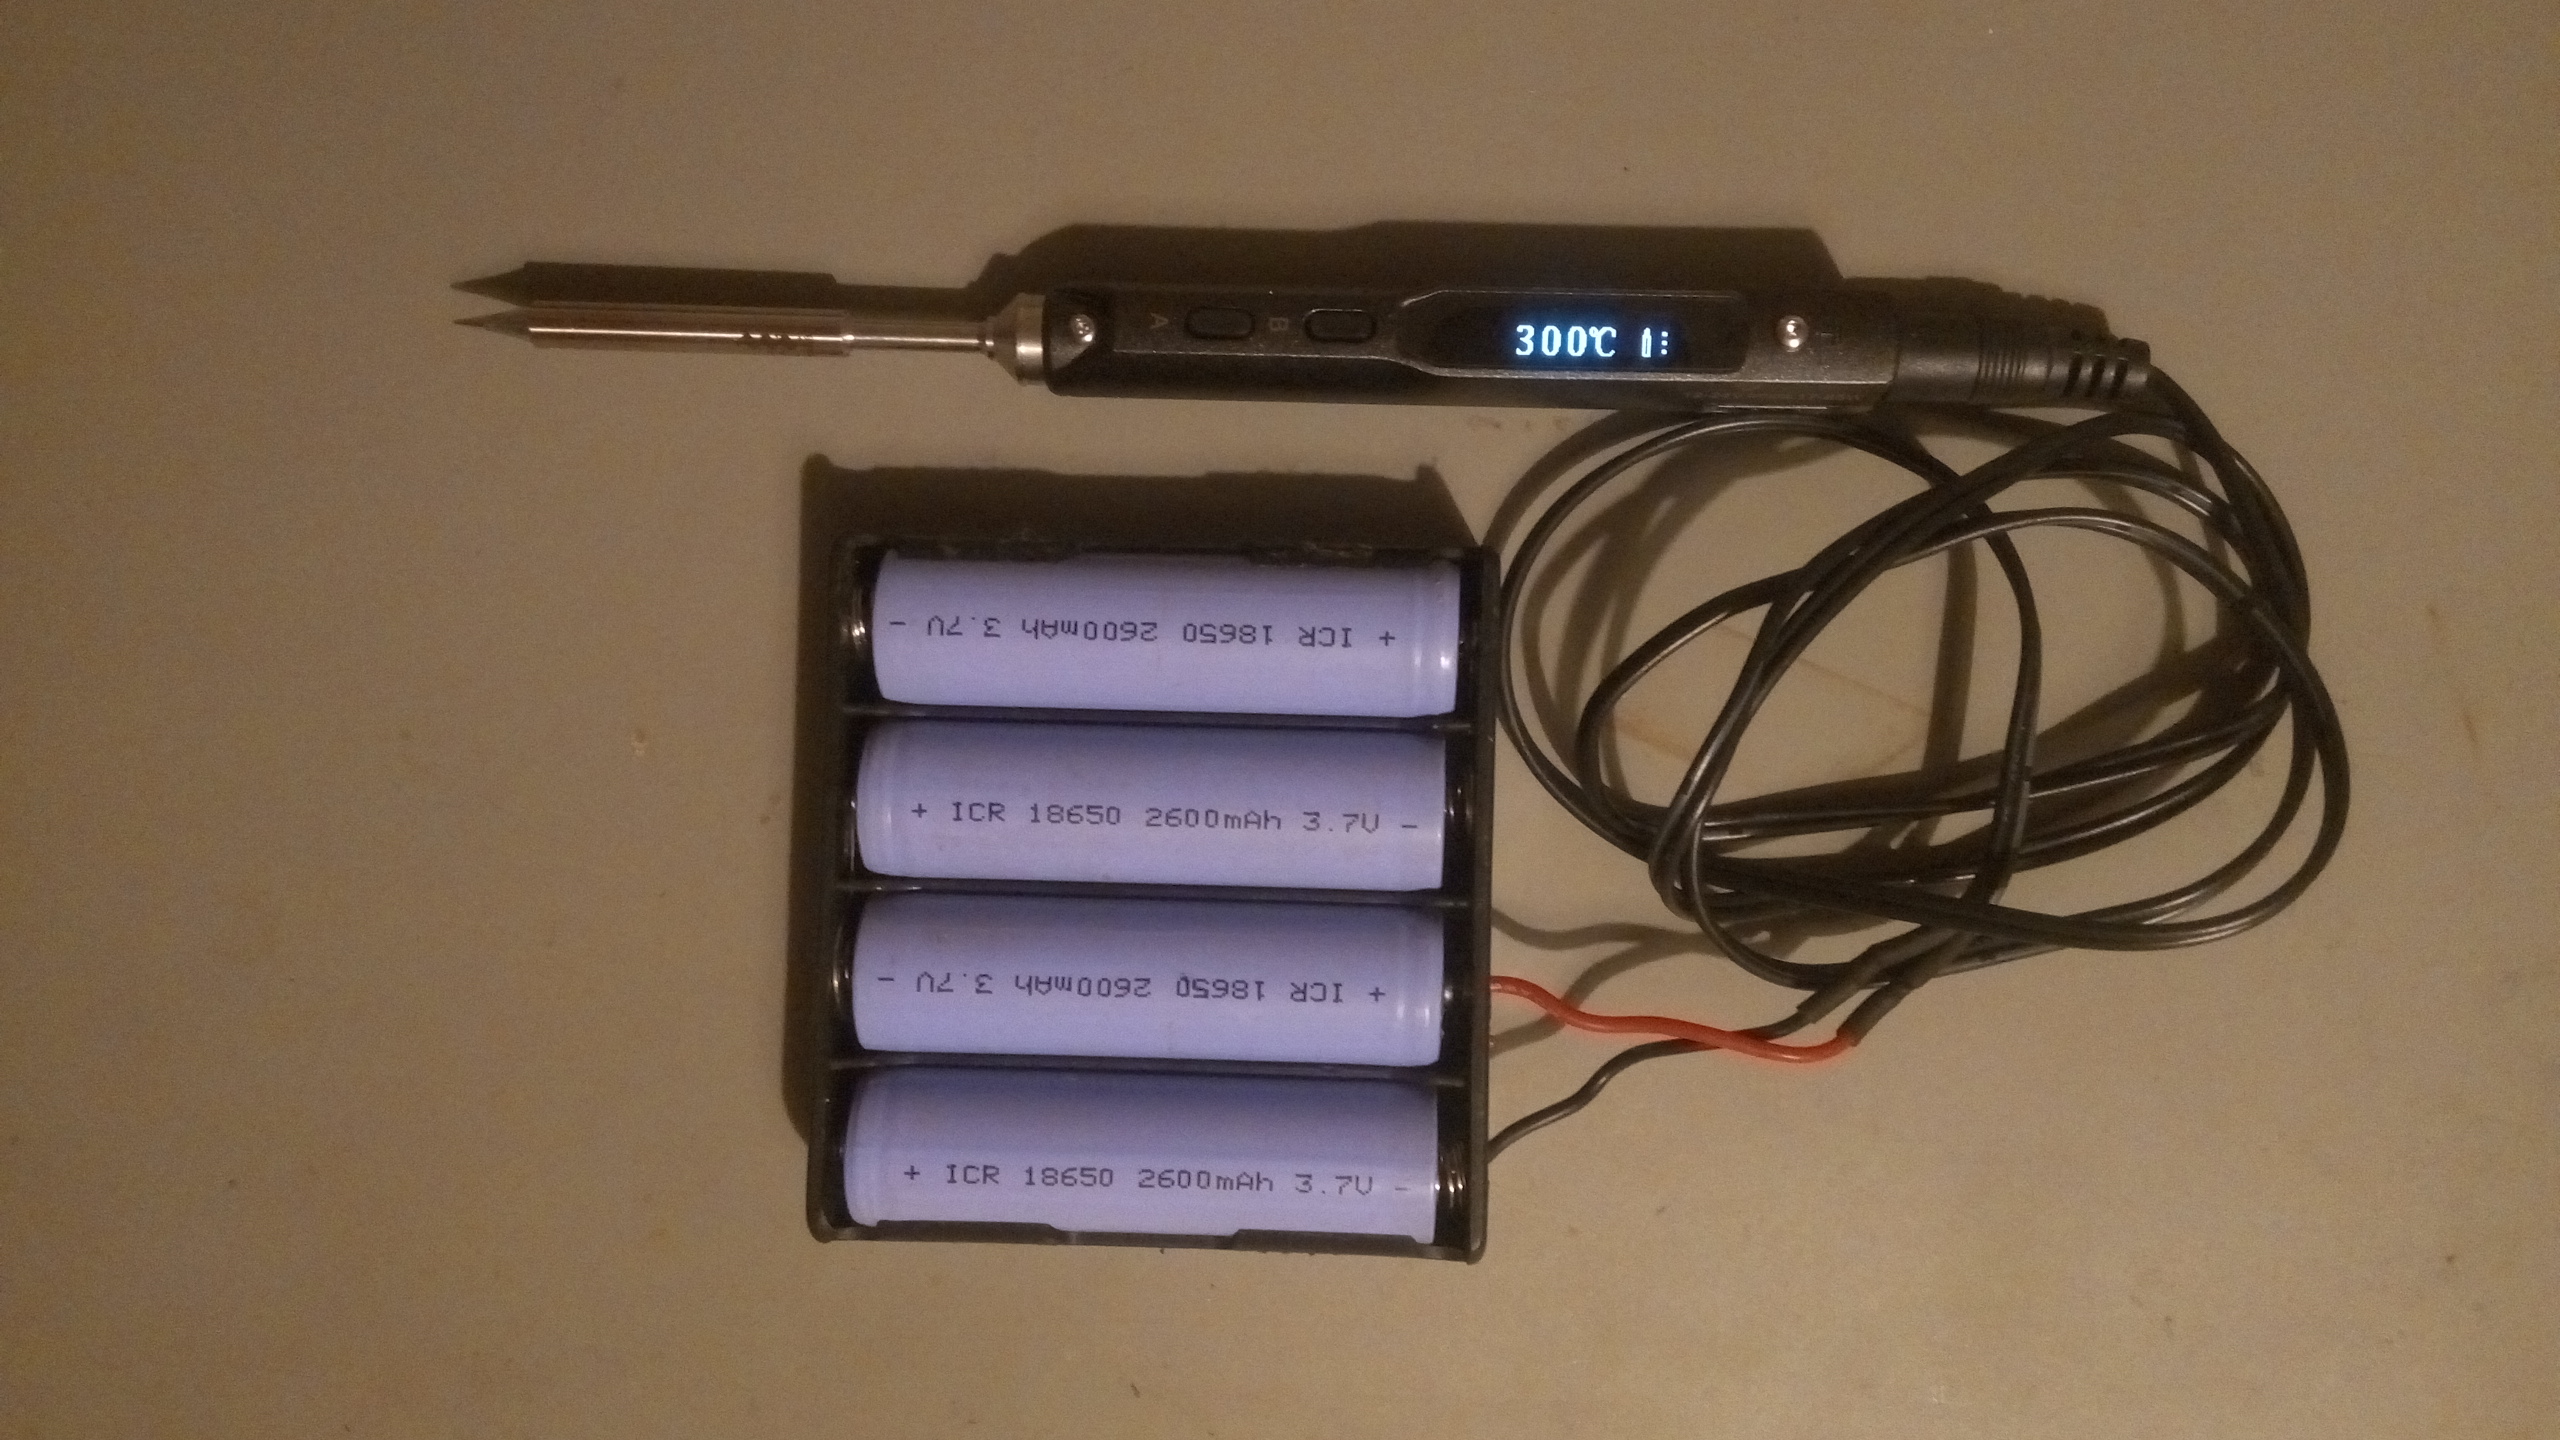
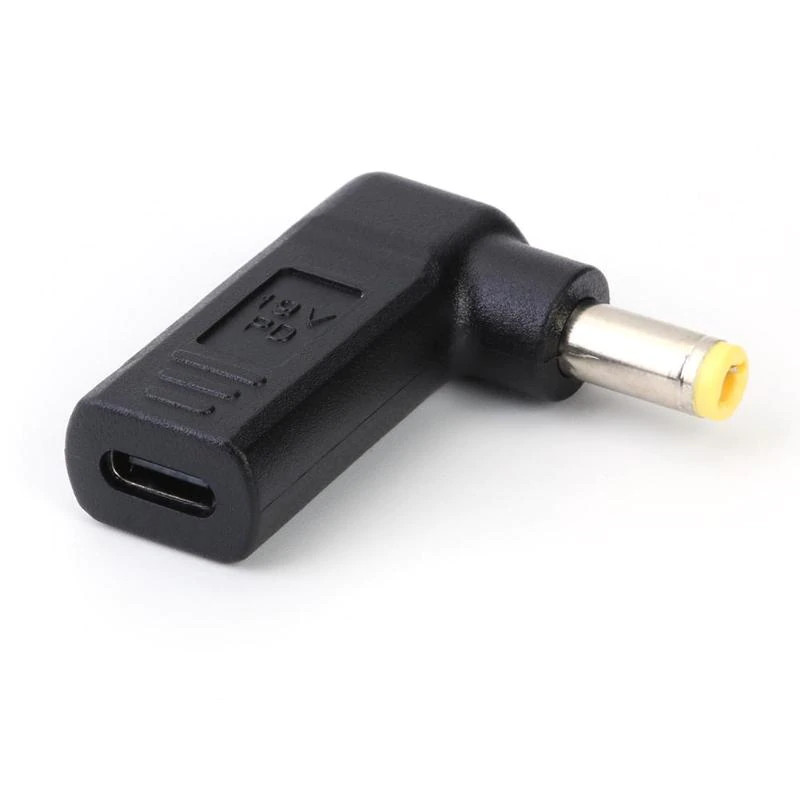
TS100 is a very good iron solder, with a rated power of 17 to 65W, when powered from 12 to 24V.
While 12V DC jack DC5525 are everywhere, 24V are less but needed if you want more heat to solder larger components or grounds. (better than the TS-80 with the weak 18W anyway)
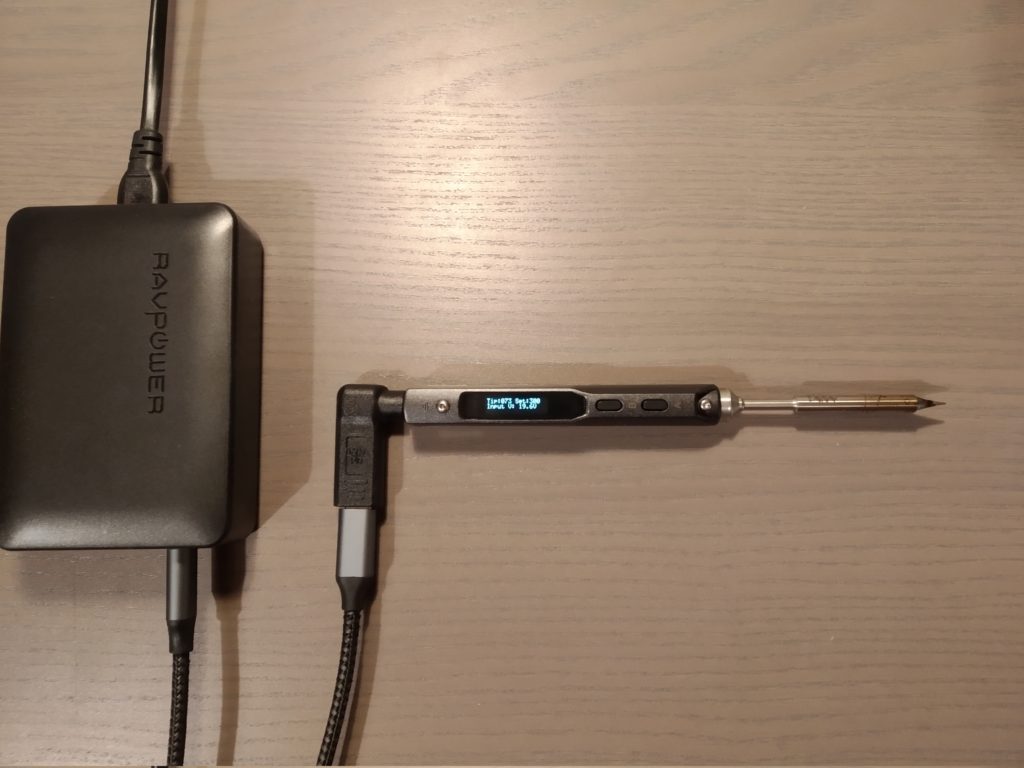
Supplying from USB-C source with PD 19V 60W takes full advantage of this iron solder.
This hack has been made but not robust enough nor slick to my taste.
Well defined product functionality implemented with mature and state of the art industrial process can yield very nice products.
But in some cases, pushing sleekness over function don’t deserve the product well. This is especially the case for prosumer product: professional consumer want sturdy, rugged product, surviving the field.
Even a sales person on a show with a tablet for demo want certain level of toughness: the tablet can be drop by the visitor, will be abused during storage and transport, etc..
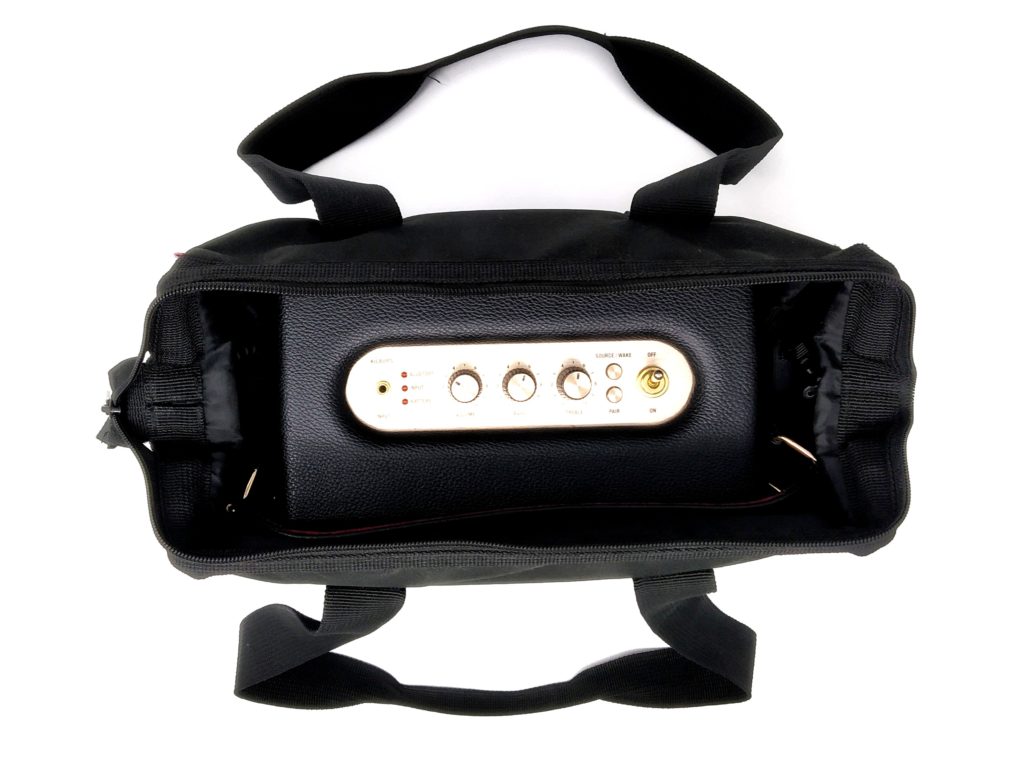
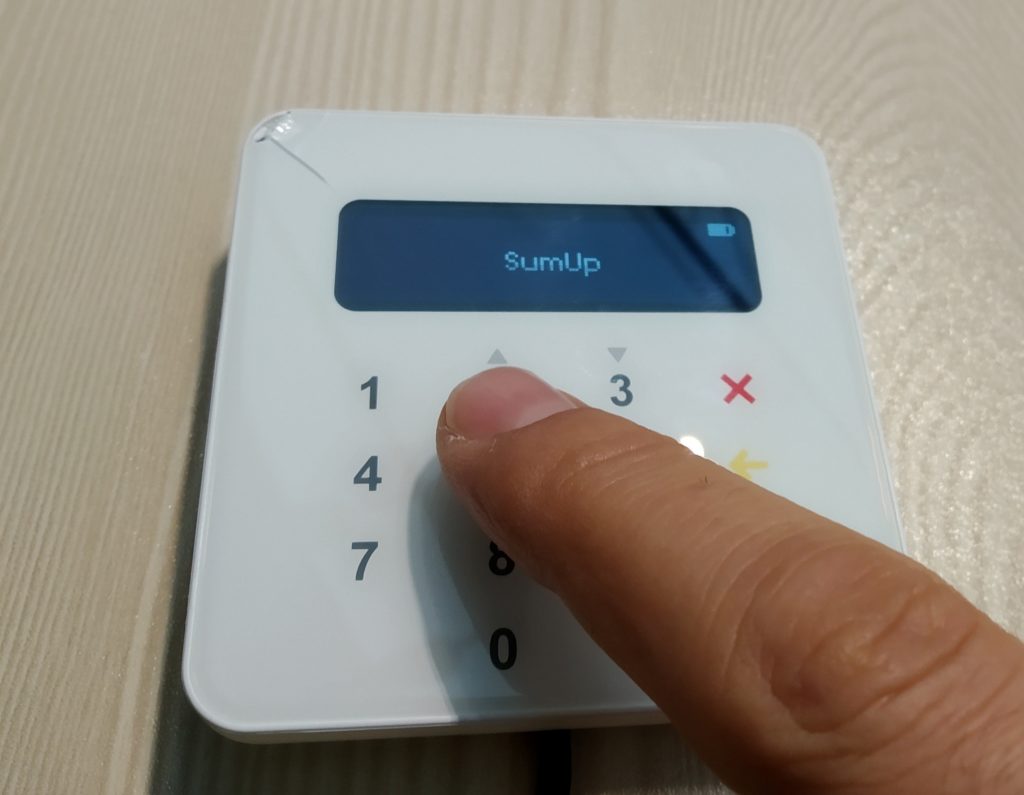
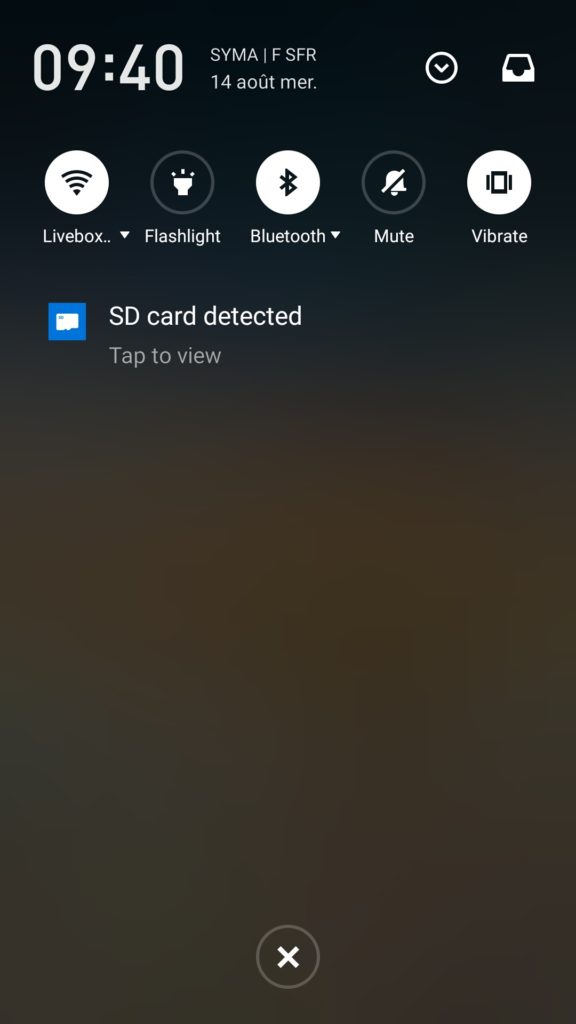
Today I want to talk about SumUp Air: a small payment terminal, synced with your smartphone to accept payment over 3G/4G or Wifi.
The idea is great: use your smartphone to do the accounting/sales stuff, while having a dedicated card reader with pin input Bluetooth synced to hand to the customer.
But the implementation is very, very poor.
After few years of use, I found out the following issues:
the device is BLE: it’s always on, advertising every 10sec: this sucks as if you have it in your car with your stock, it is a plain beacon and screaming to be broken in
the device cannot be switch off: yes, there is no way to switch it off. Contacting the support service, they told me you cannot even remove the battery as the signature/encryption key are in volatile memory (this is interesting as the battery must definitely be a li-po and can be over-discharged at some point)
the keyboard interface is tactile (capacitive sensors), customer have trouble typing the pin in as there is no feedback of the switch press: why using a tactile technology for this!
the front face is glass: just drop it and it will shatter: this is a field tool, the device WILL fall down, especially while handling it to customers, outdoors, etc..
Bluetooth wake up and pairing is just a pain: while it’s supposed to wake up when you start the transaction on your smartphone, most of the time it doesn’t: you can to re-enable discovery/pairing on the front of you customer
Location must be enabled on your smartphone: while this is interesting for transaction history, this is also a bad idea: it just drains the battery from your smartphone super fast.
Tactile is not great for user feedbackYes, concrete floors always win
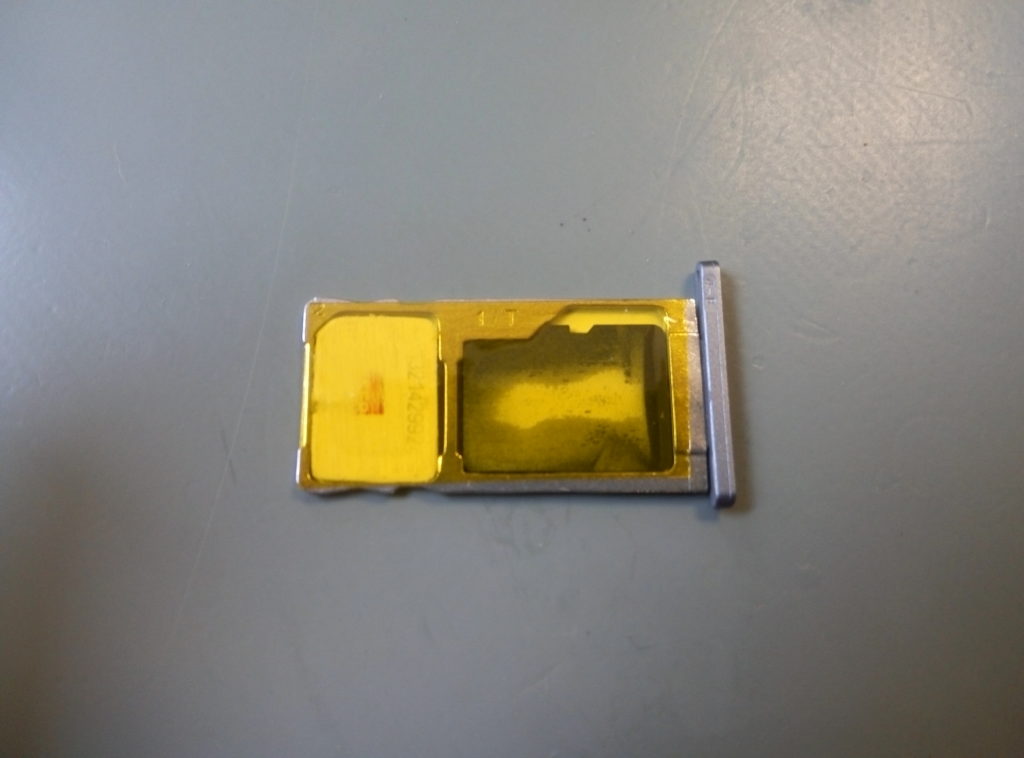
But most of them due to the card tray design, can either accept:
two SIM but no micro-SD
one SIM and a micro-SD card
This is definitely a bugger since mid-range Android smartphones are pretty stingy with storage memory (from 16Gb to 32Gb), while micro SD are pretty cheap an wayyyyy larger (128Gb to 512Gb)
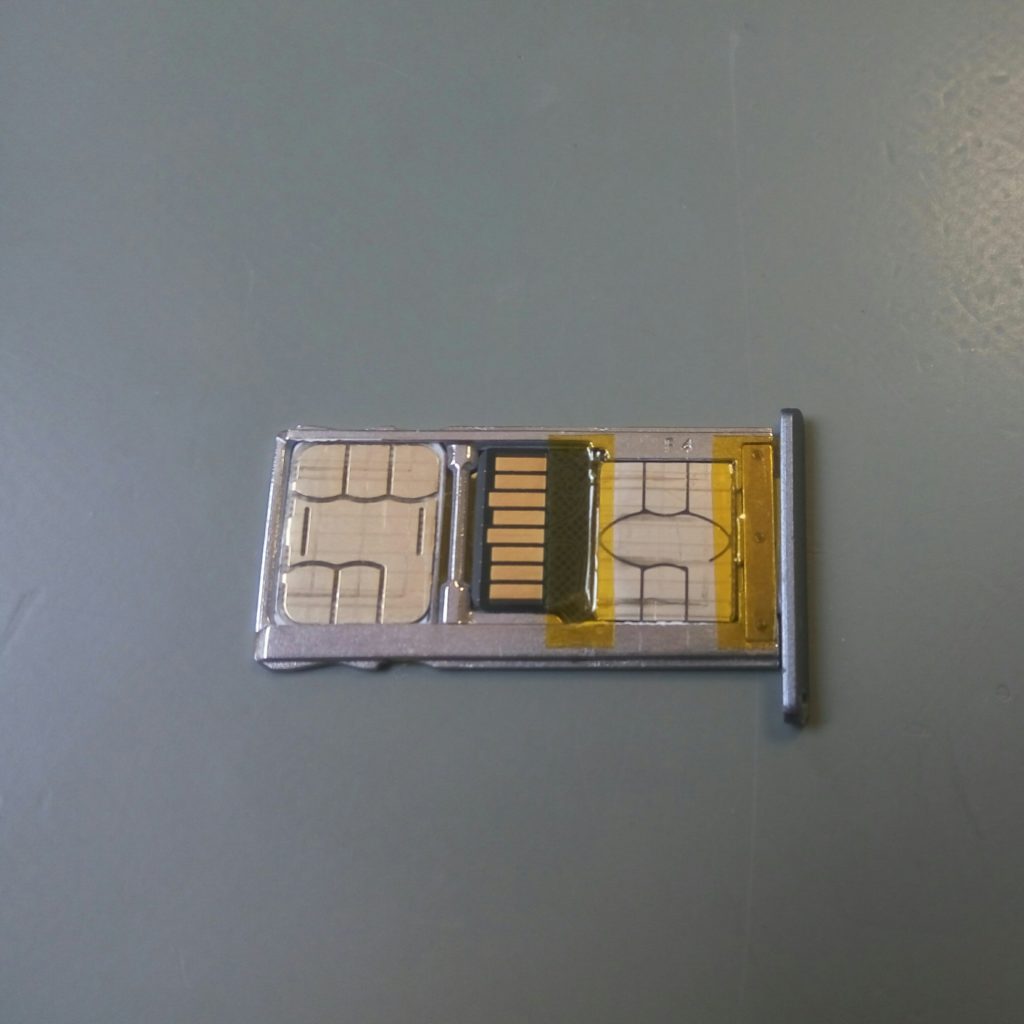
Here is the quick hack to insert both dual sim, and a micro SD.
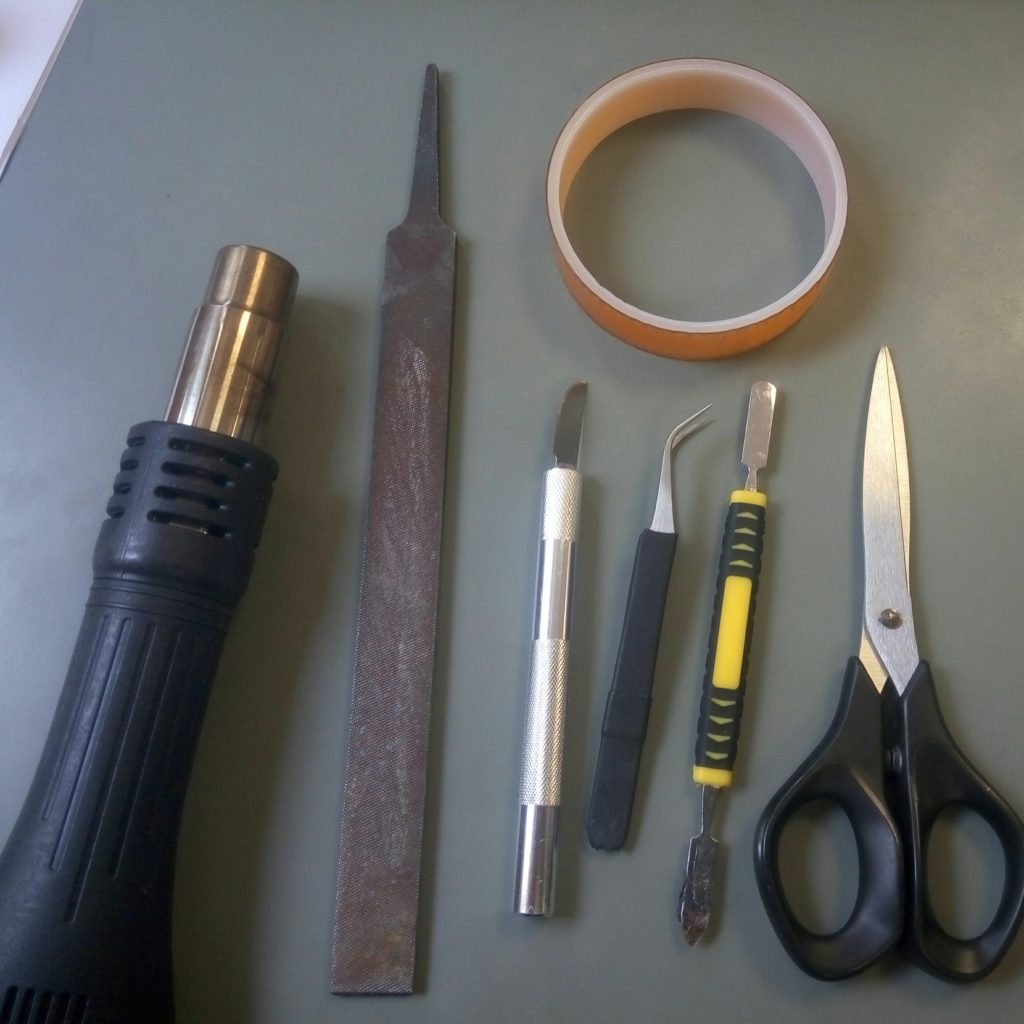
Tools needed
Tools needed, but a lighter and utility knife would do
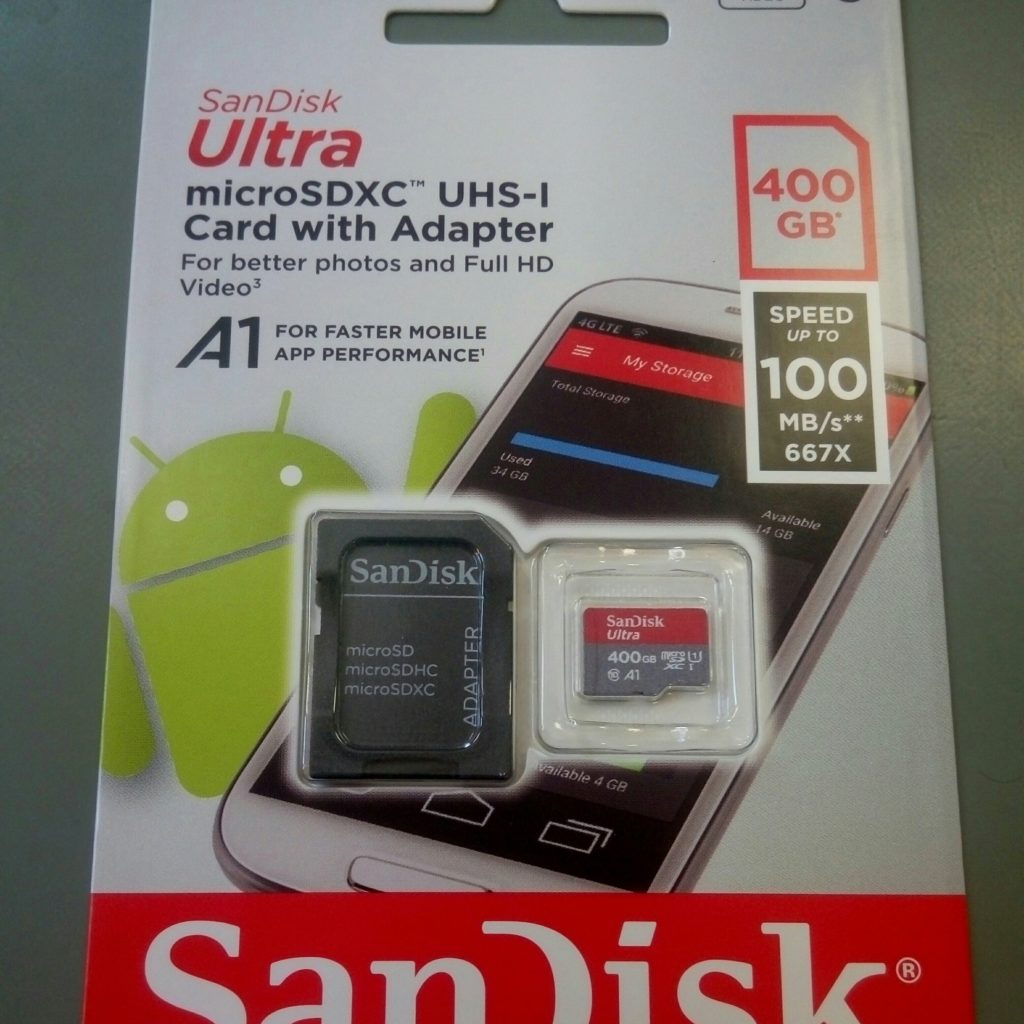
Wow, 400Gb
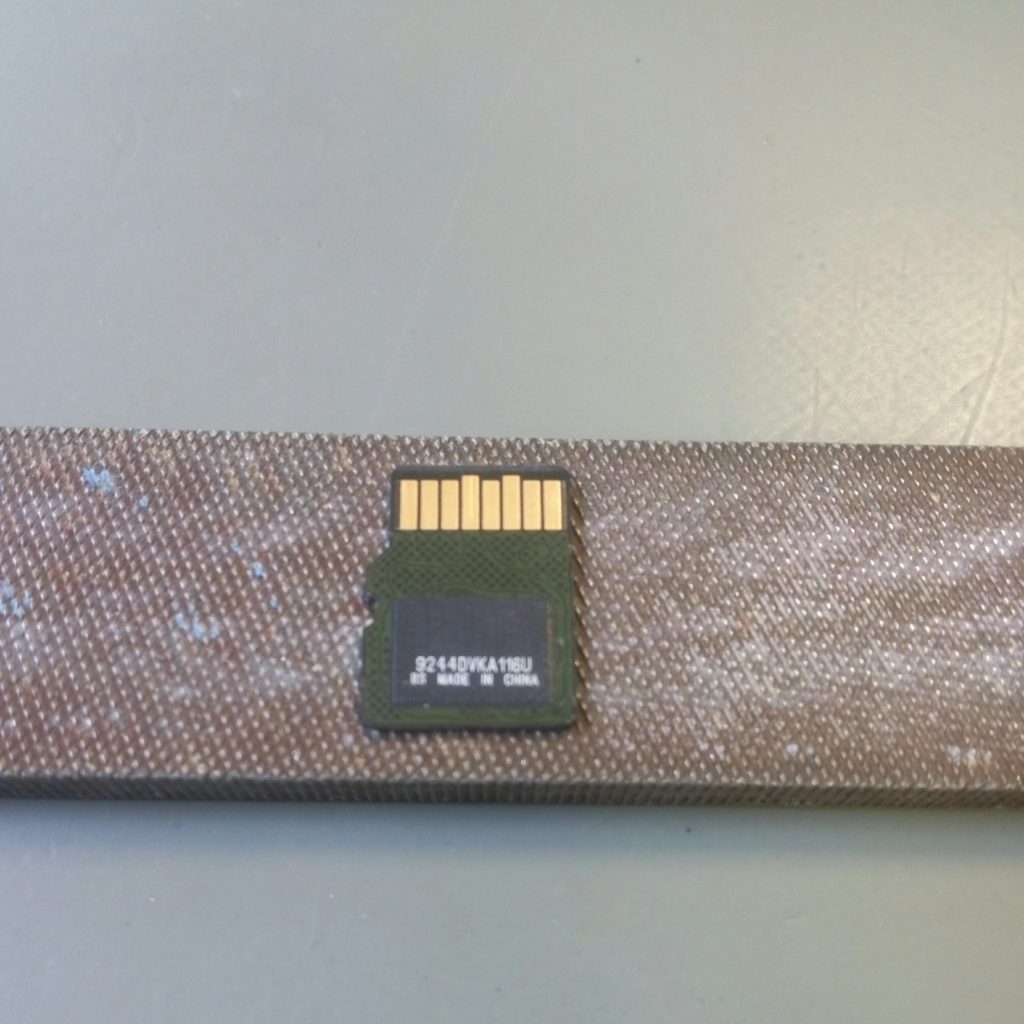
Peel the back of the nano-SIM plastic, with a hot air gun, as it’s soften the back glue, heat gently and evenly the back, to not fry the sim. (you may want to try first with a discarded SIM card, sitting in your junk-box)
Peeling the plastic card of the PCB/Chip
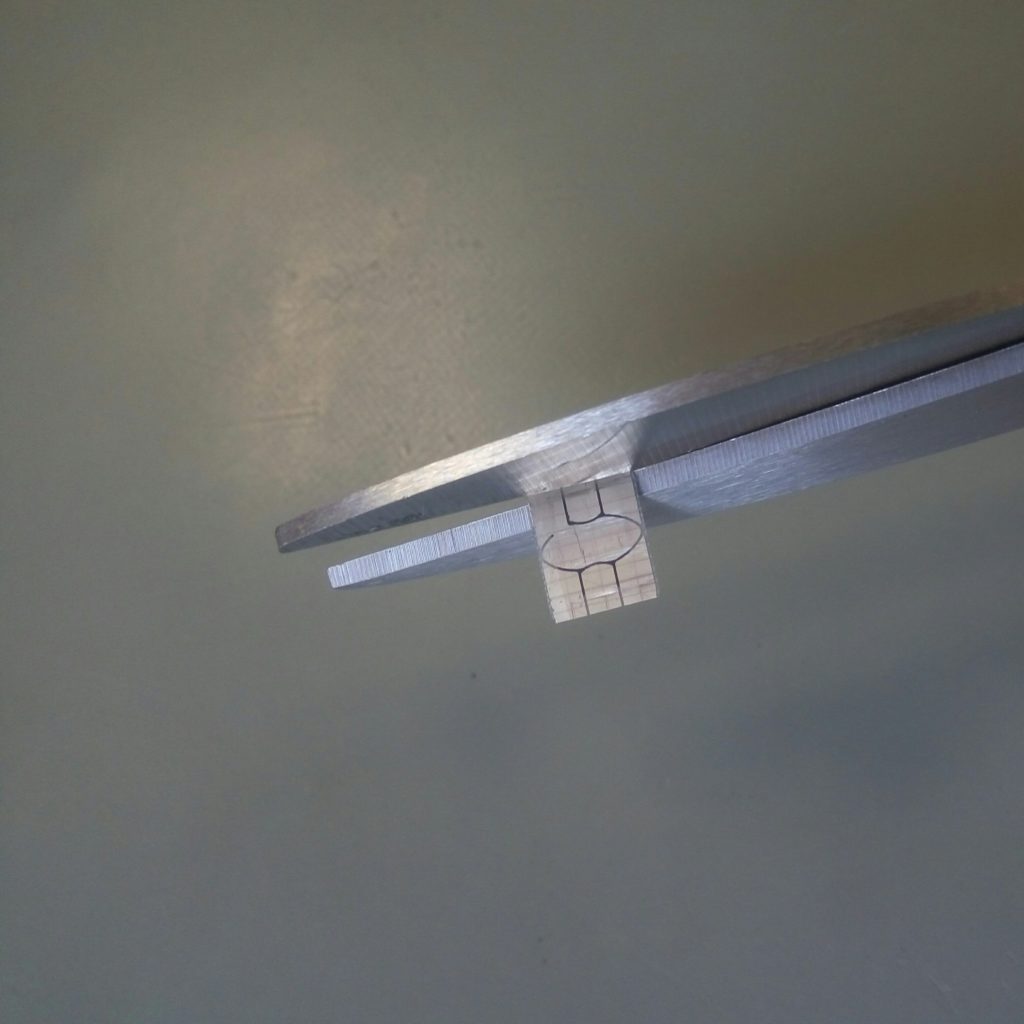
Clip about 1mm the sides of the FR4 epoxy SIM card
Clipping the SIM PCB with scissors
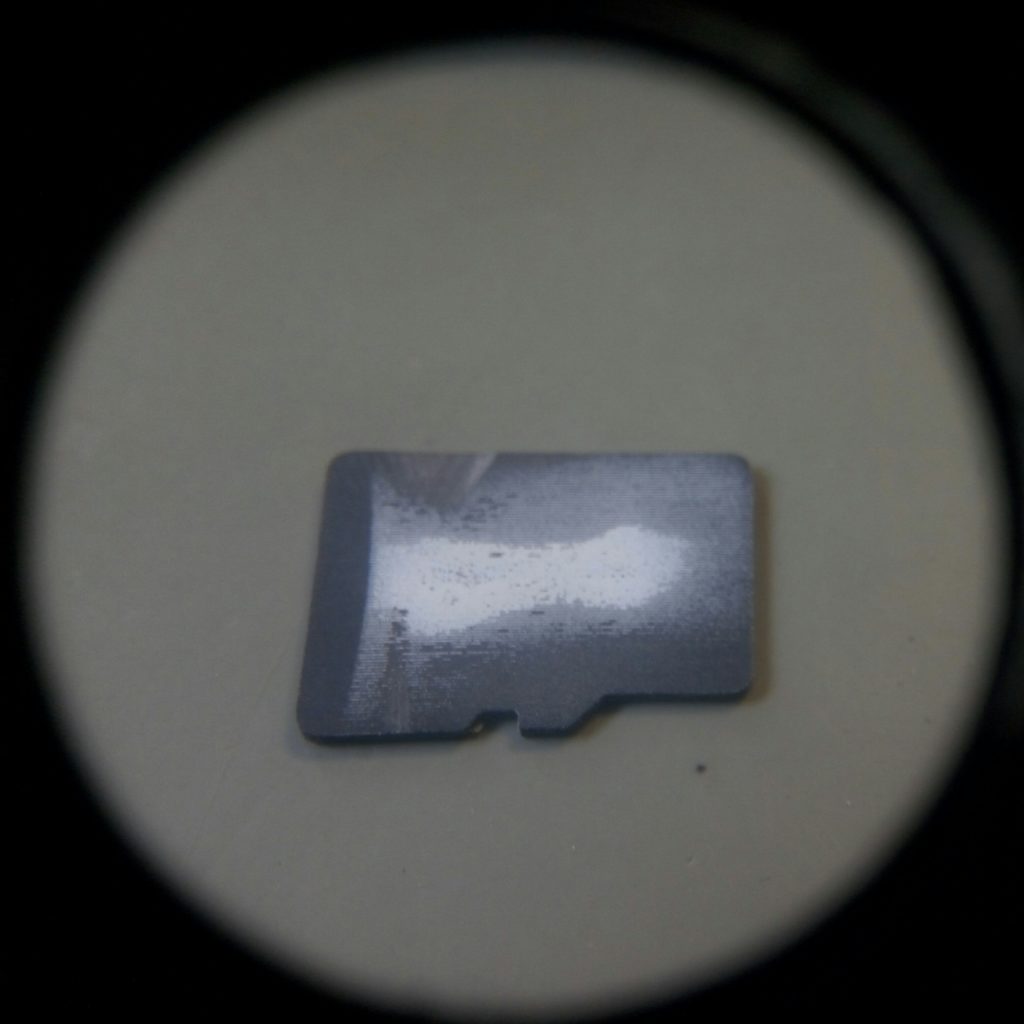
File the edge on the micro SD card, so it’s thinner, and don’t have this edge protruding anymore and shaves few microns of the card.
It’s interesting the flipchip design, reflown or wire bonded on a thin PCB with the finger contacts, then overmolded with the final plastic case. 400Gb are store in this die, that’s awesome, I guess, the controller must be integrated too, not separated as in Bunnie’s entry: https://www.bunniestudios.com/blog/?page_id=1022
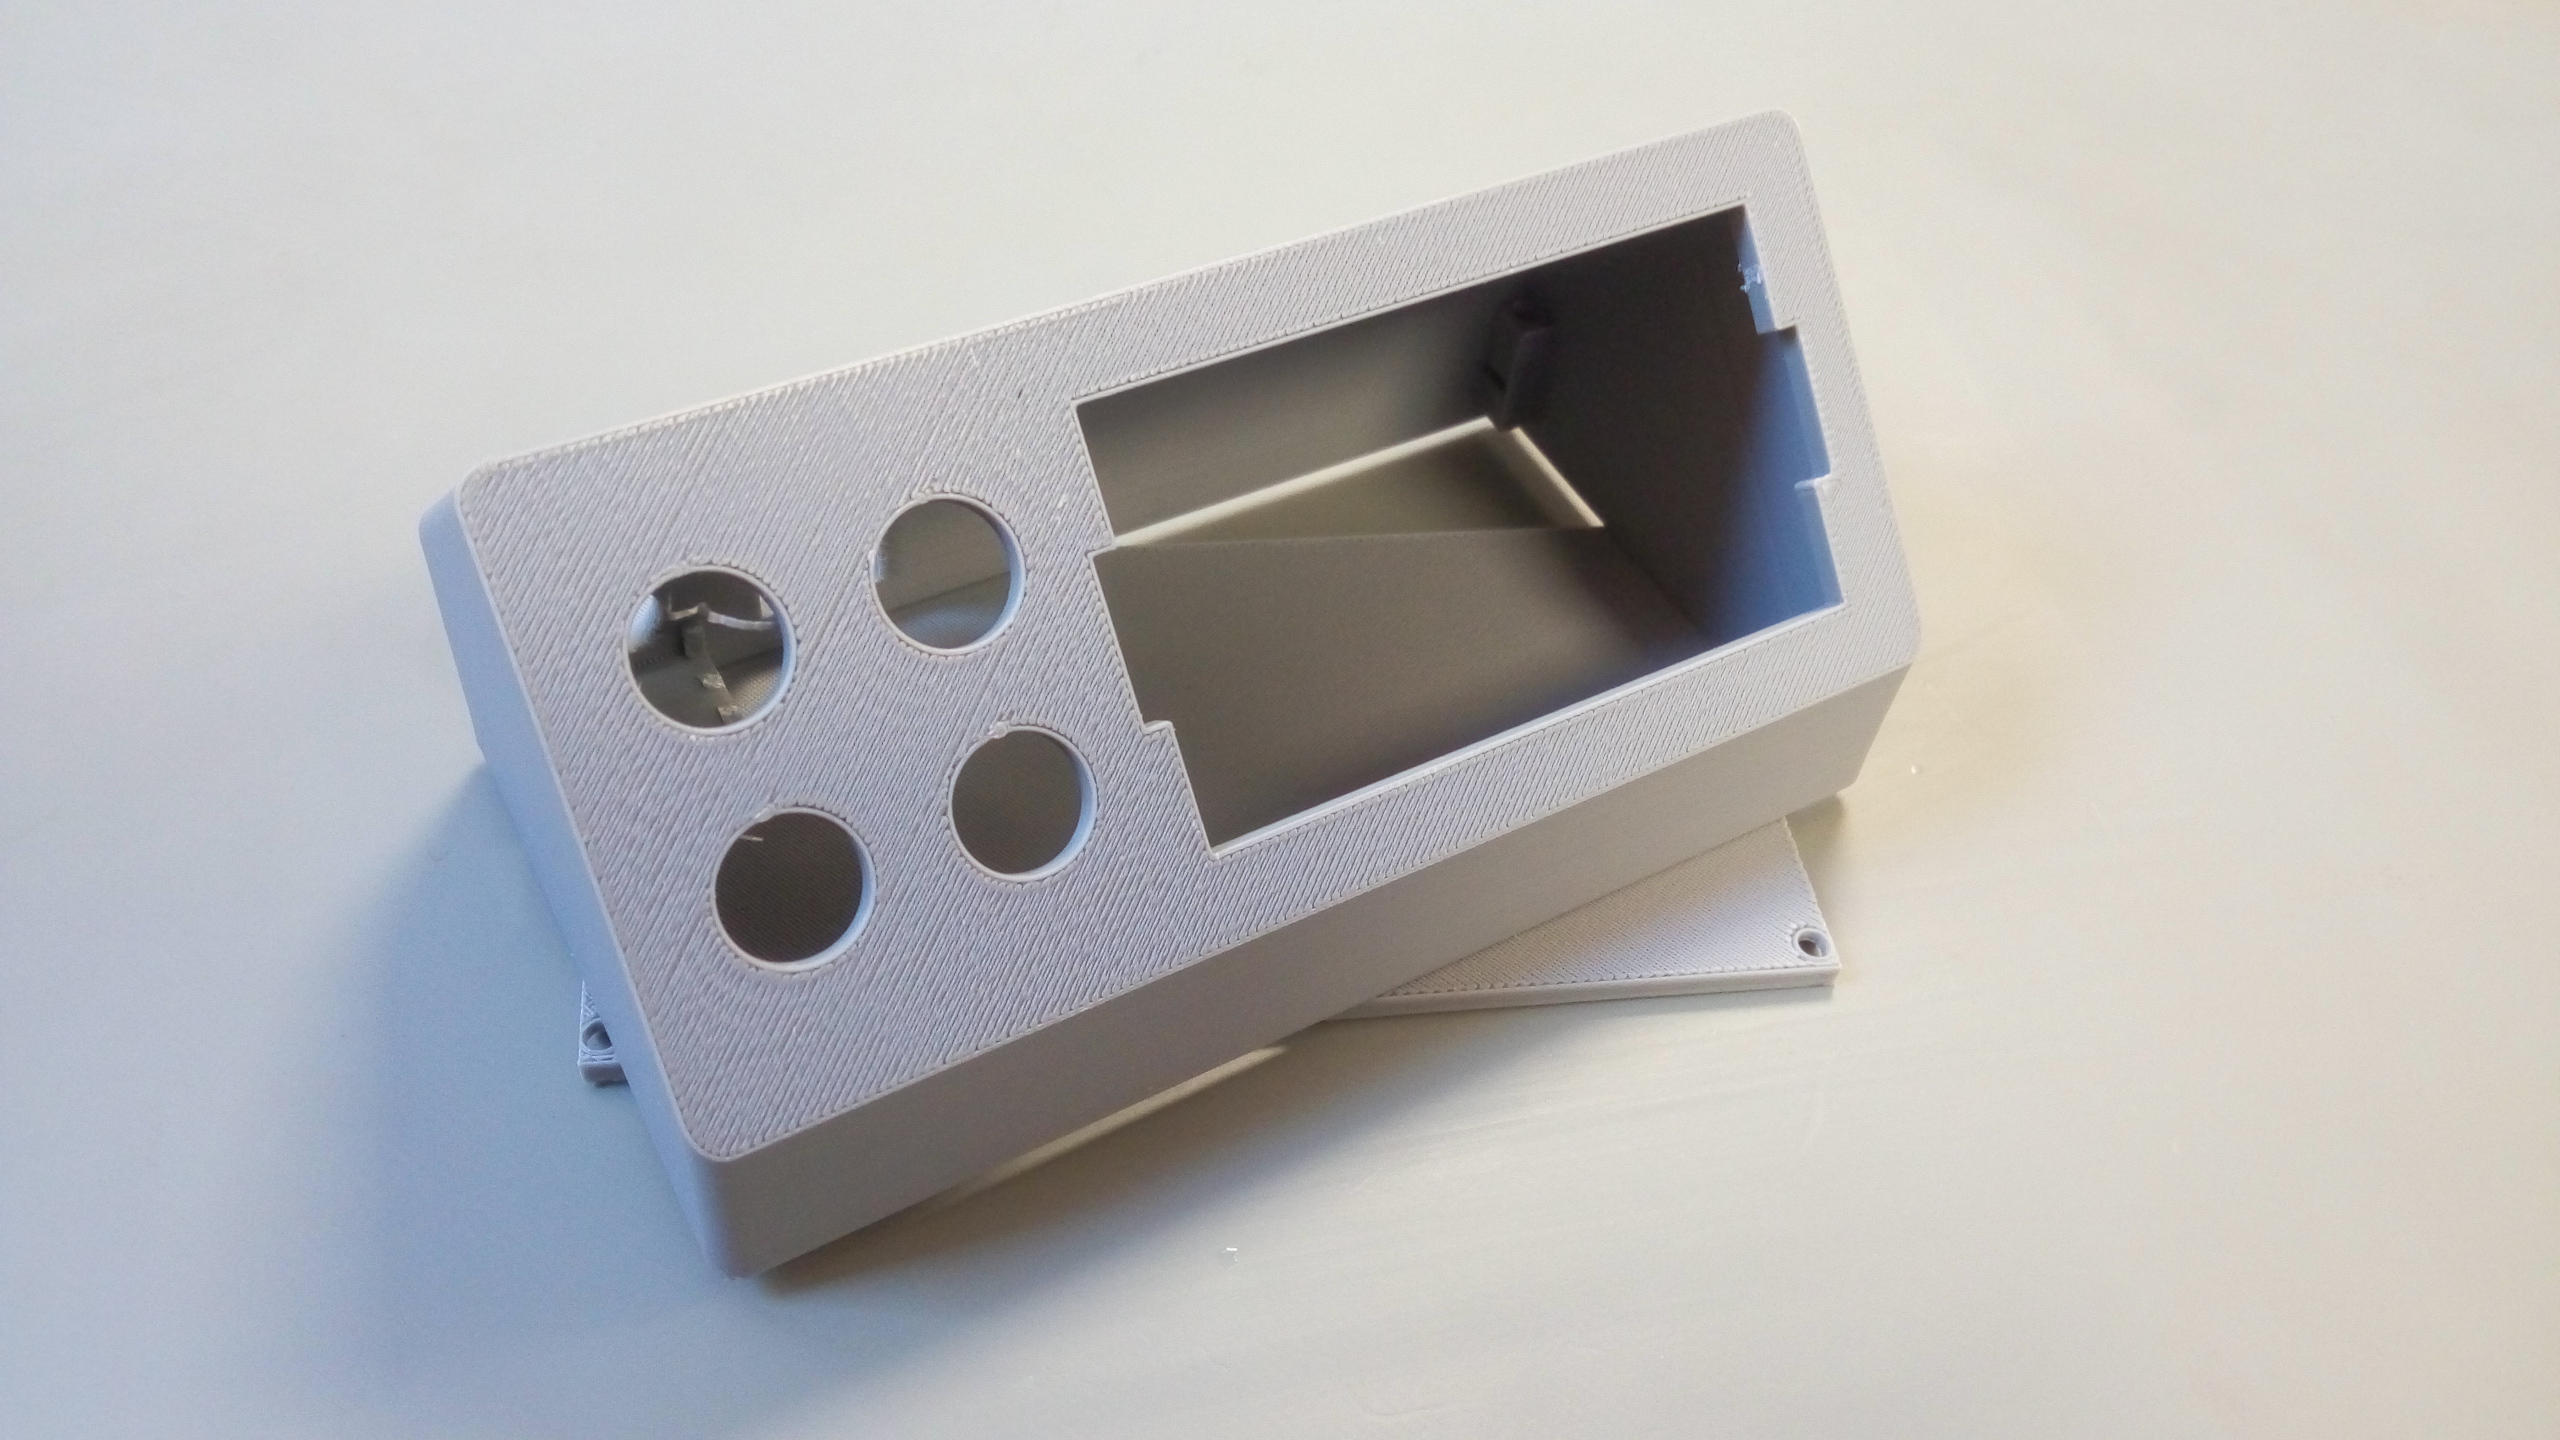
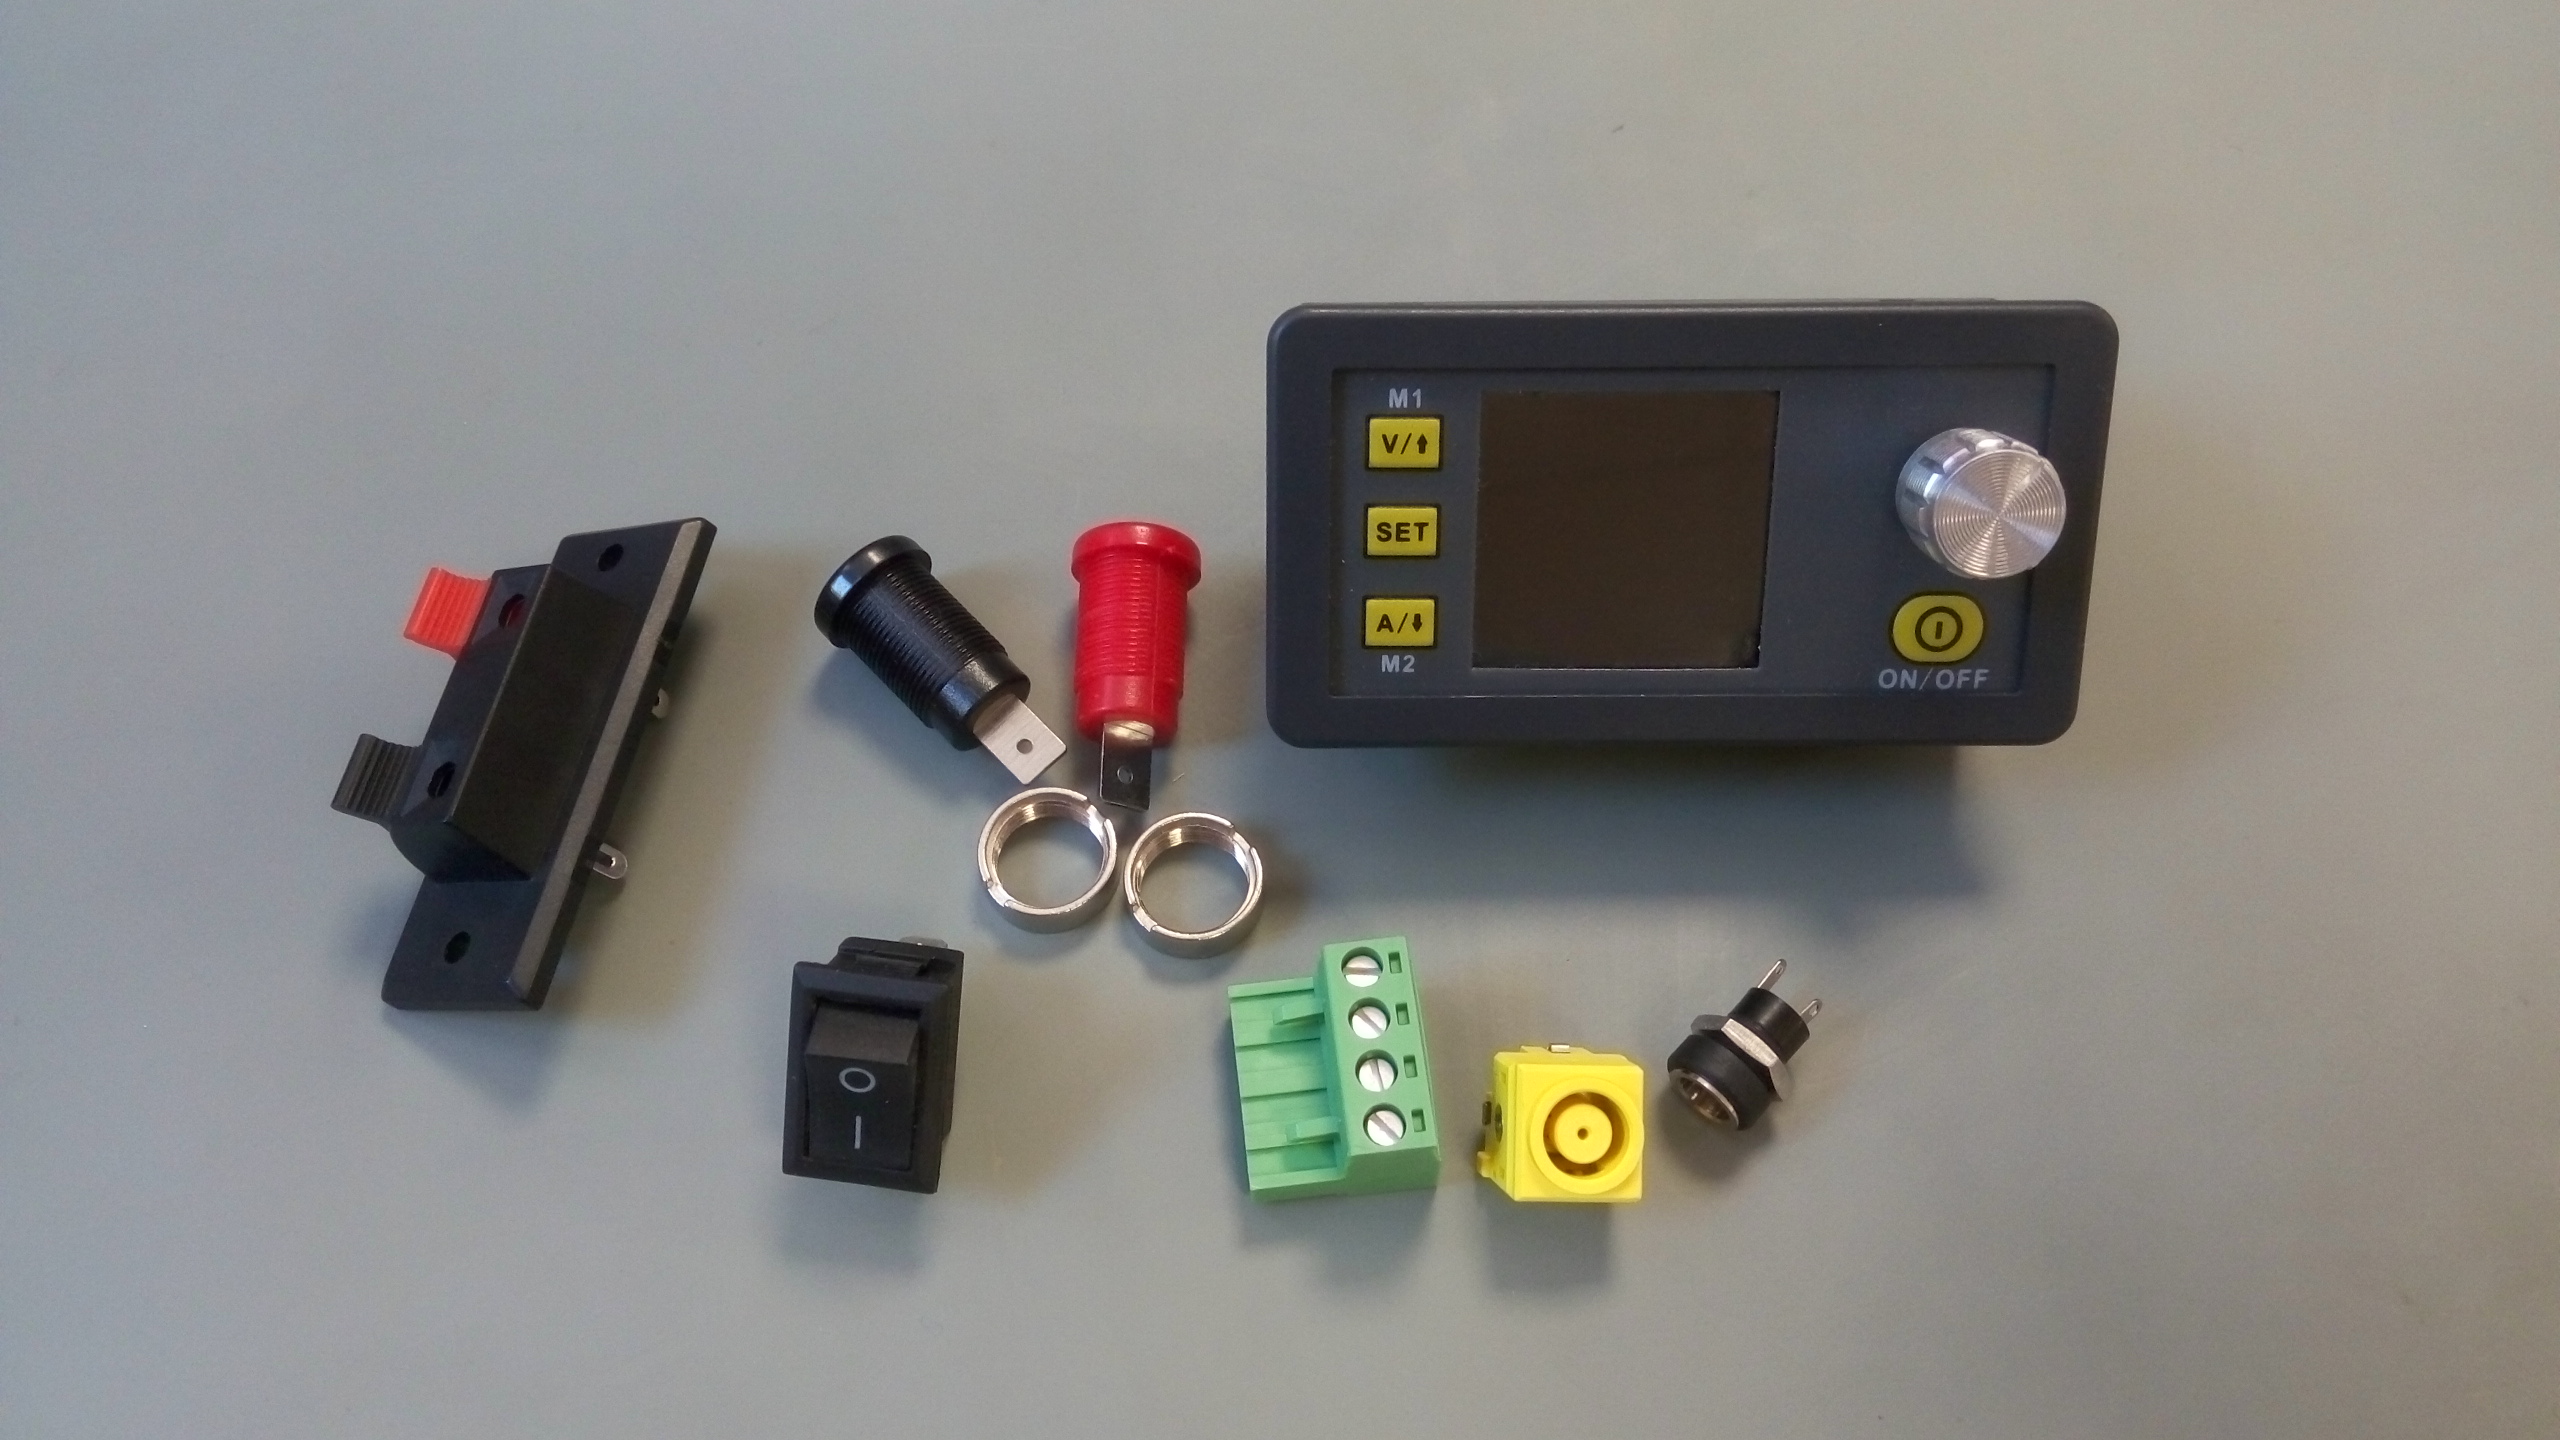
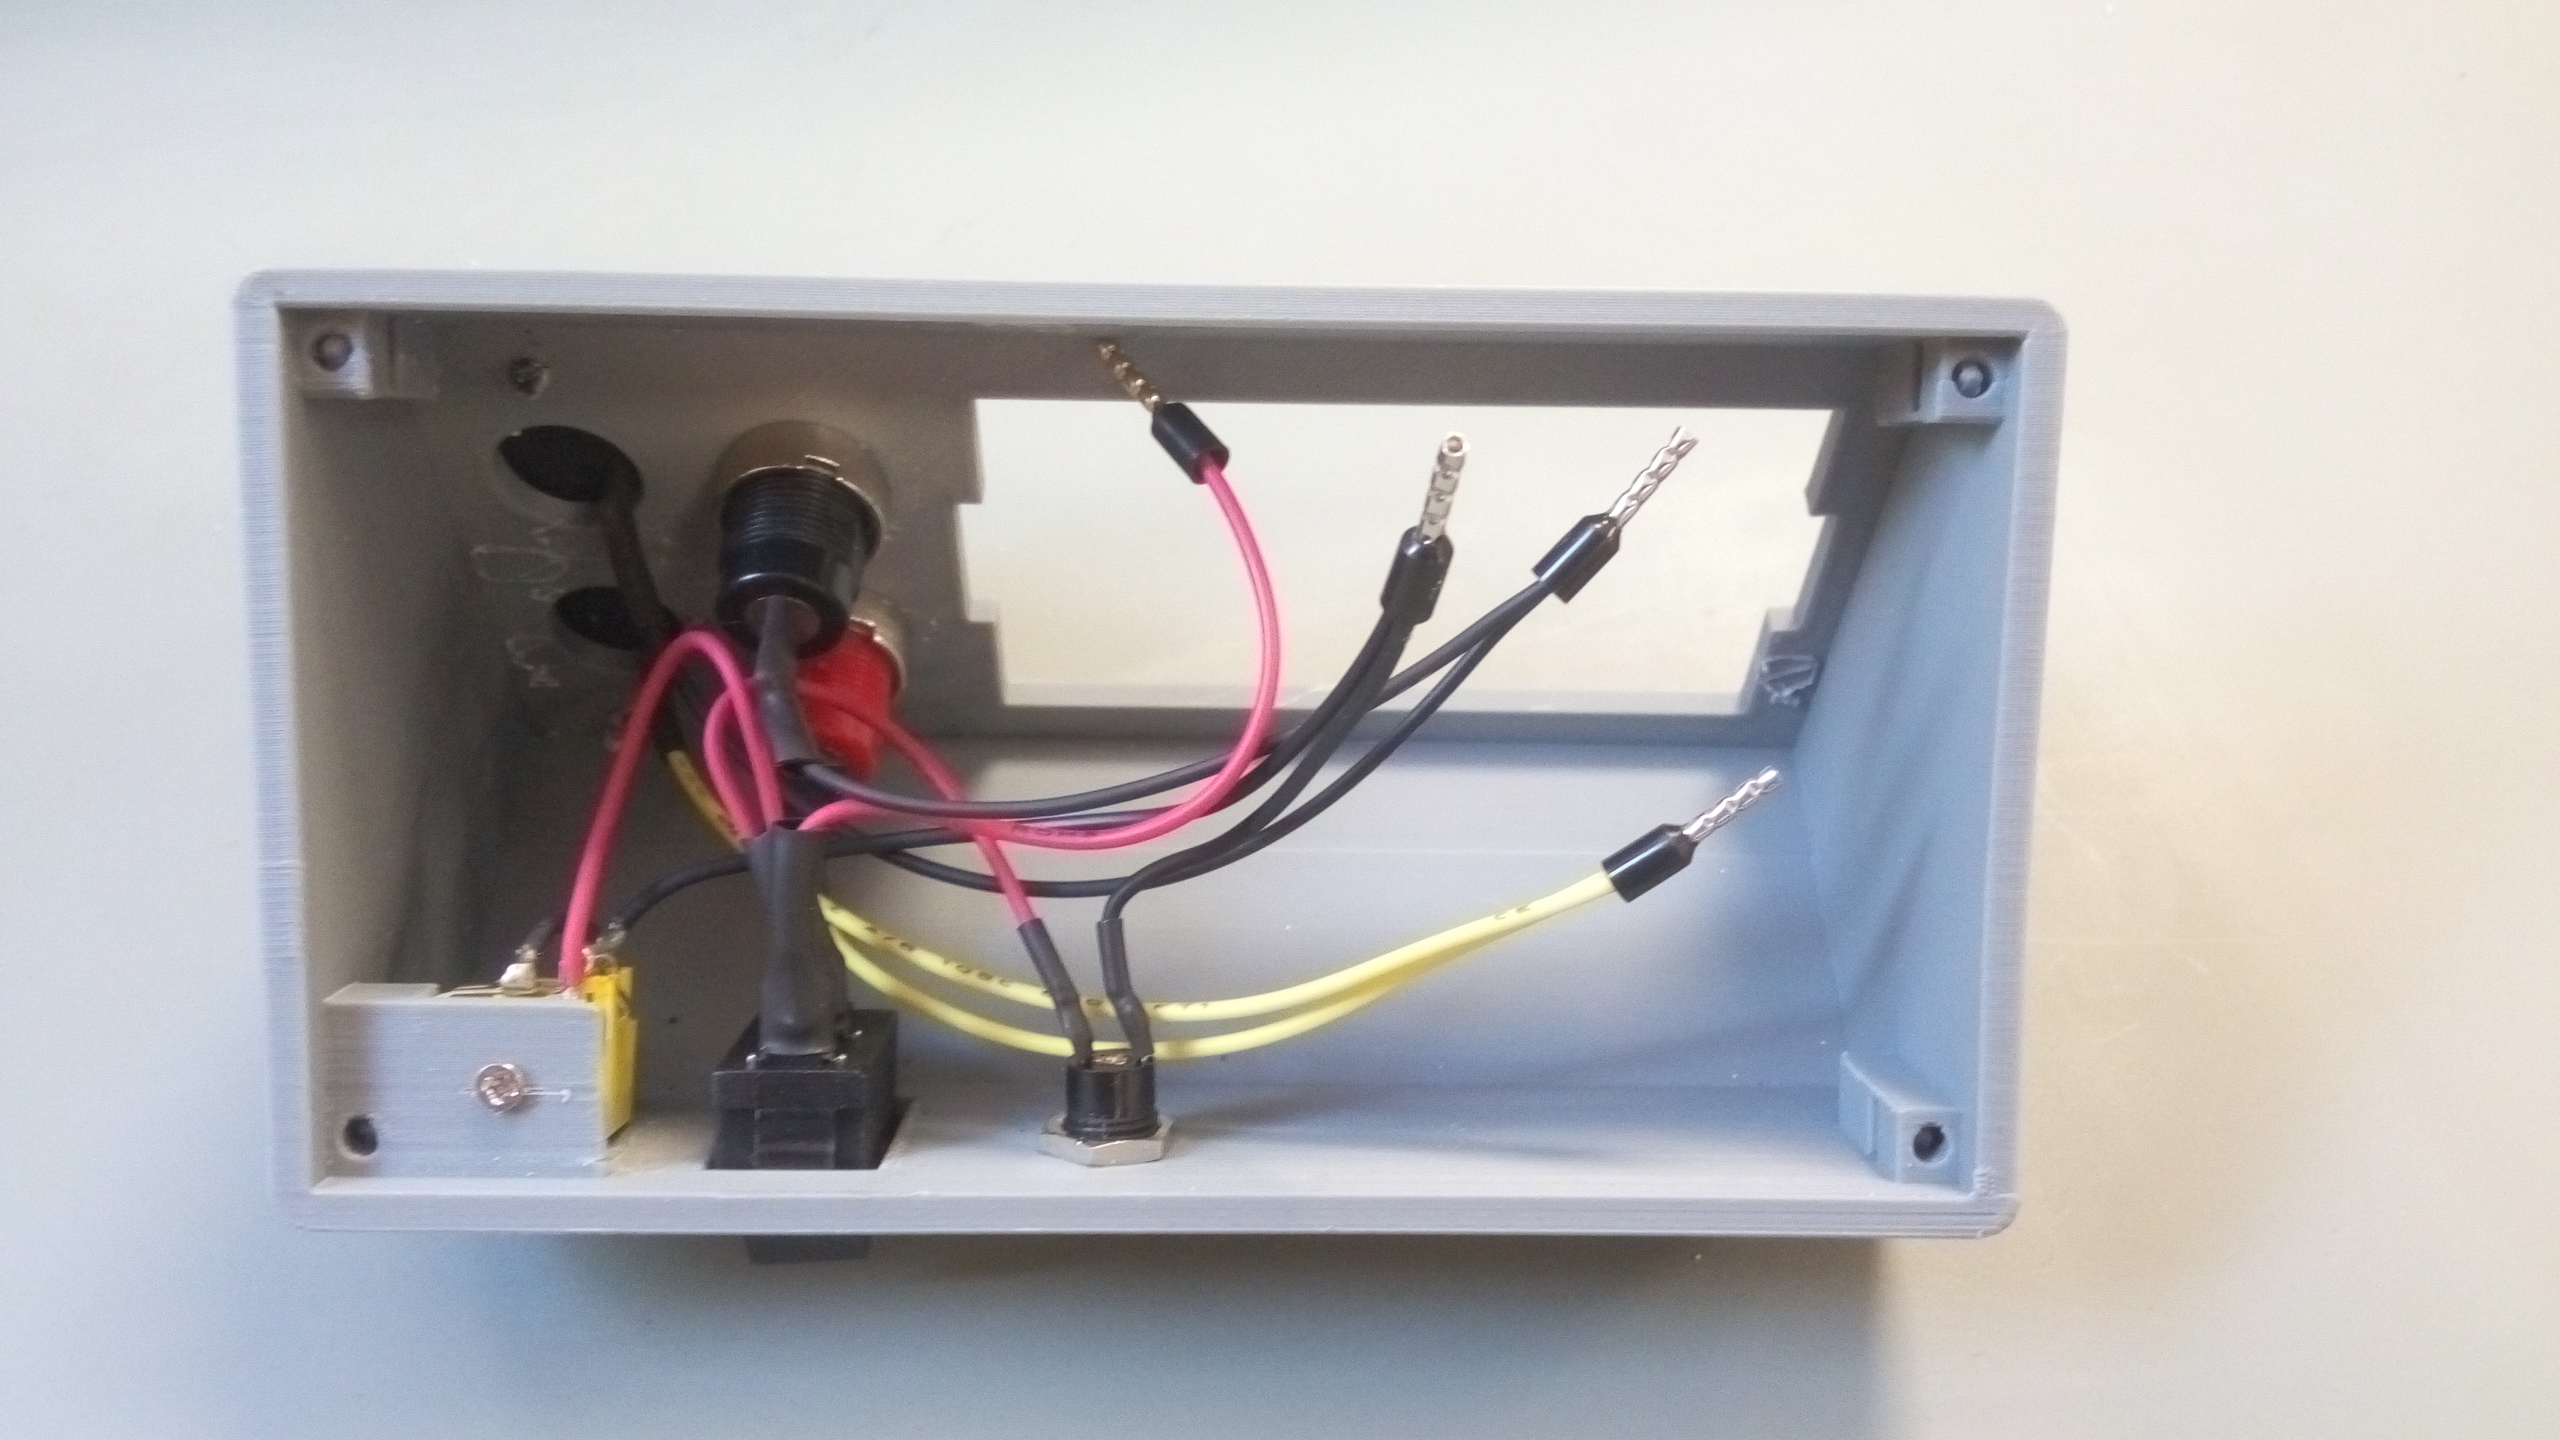
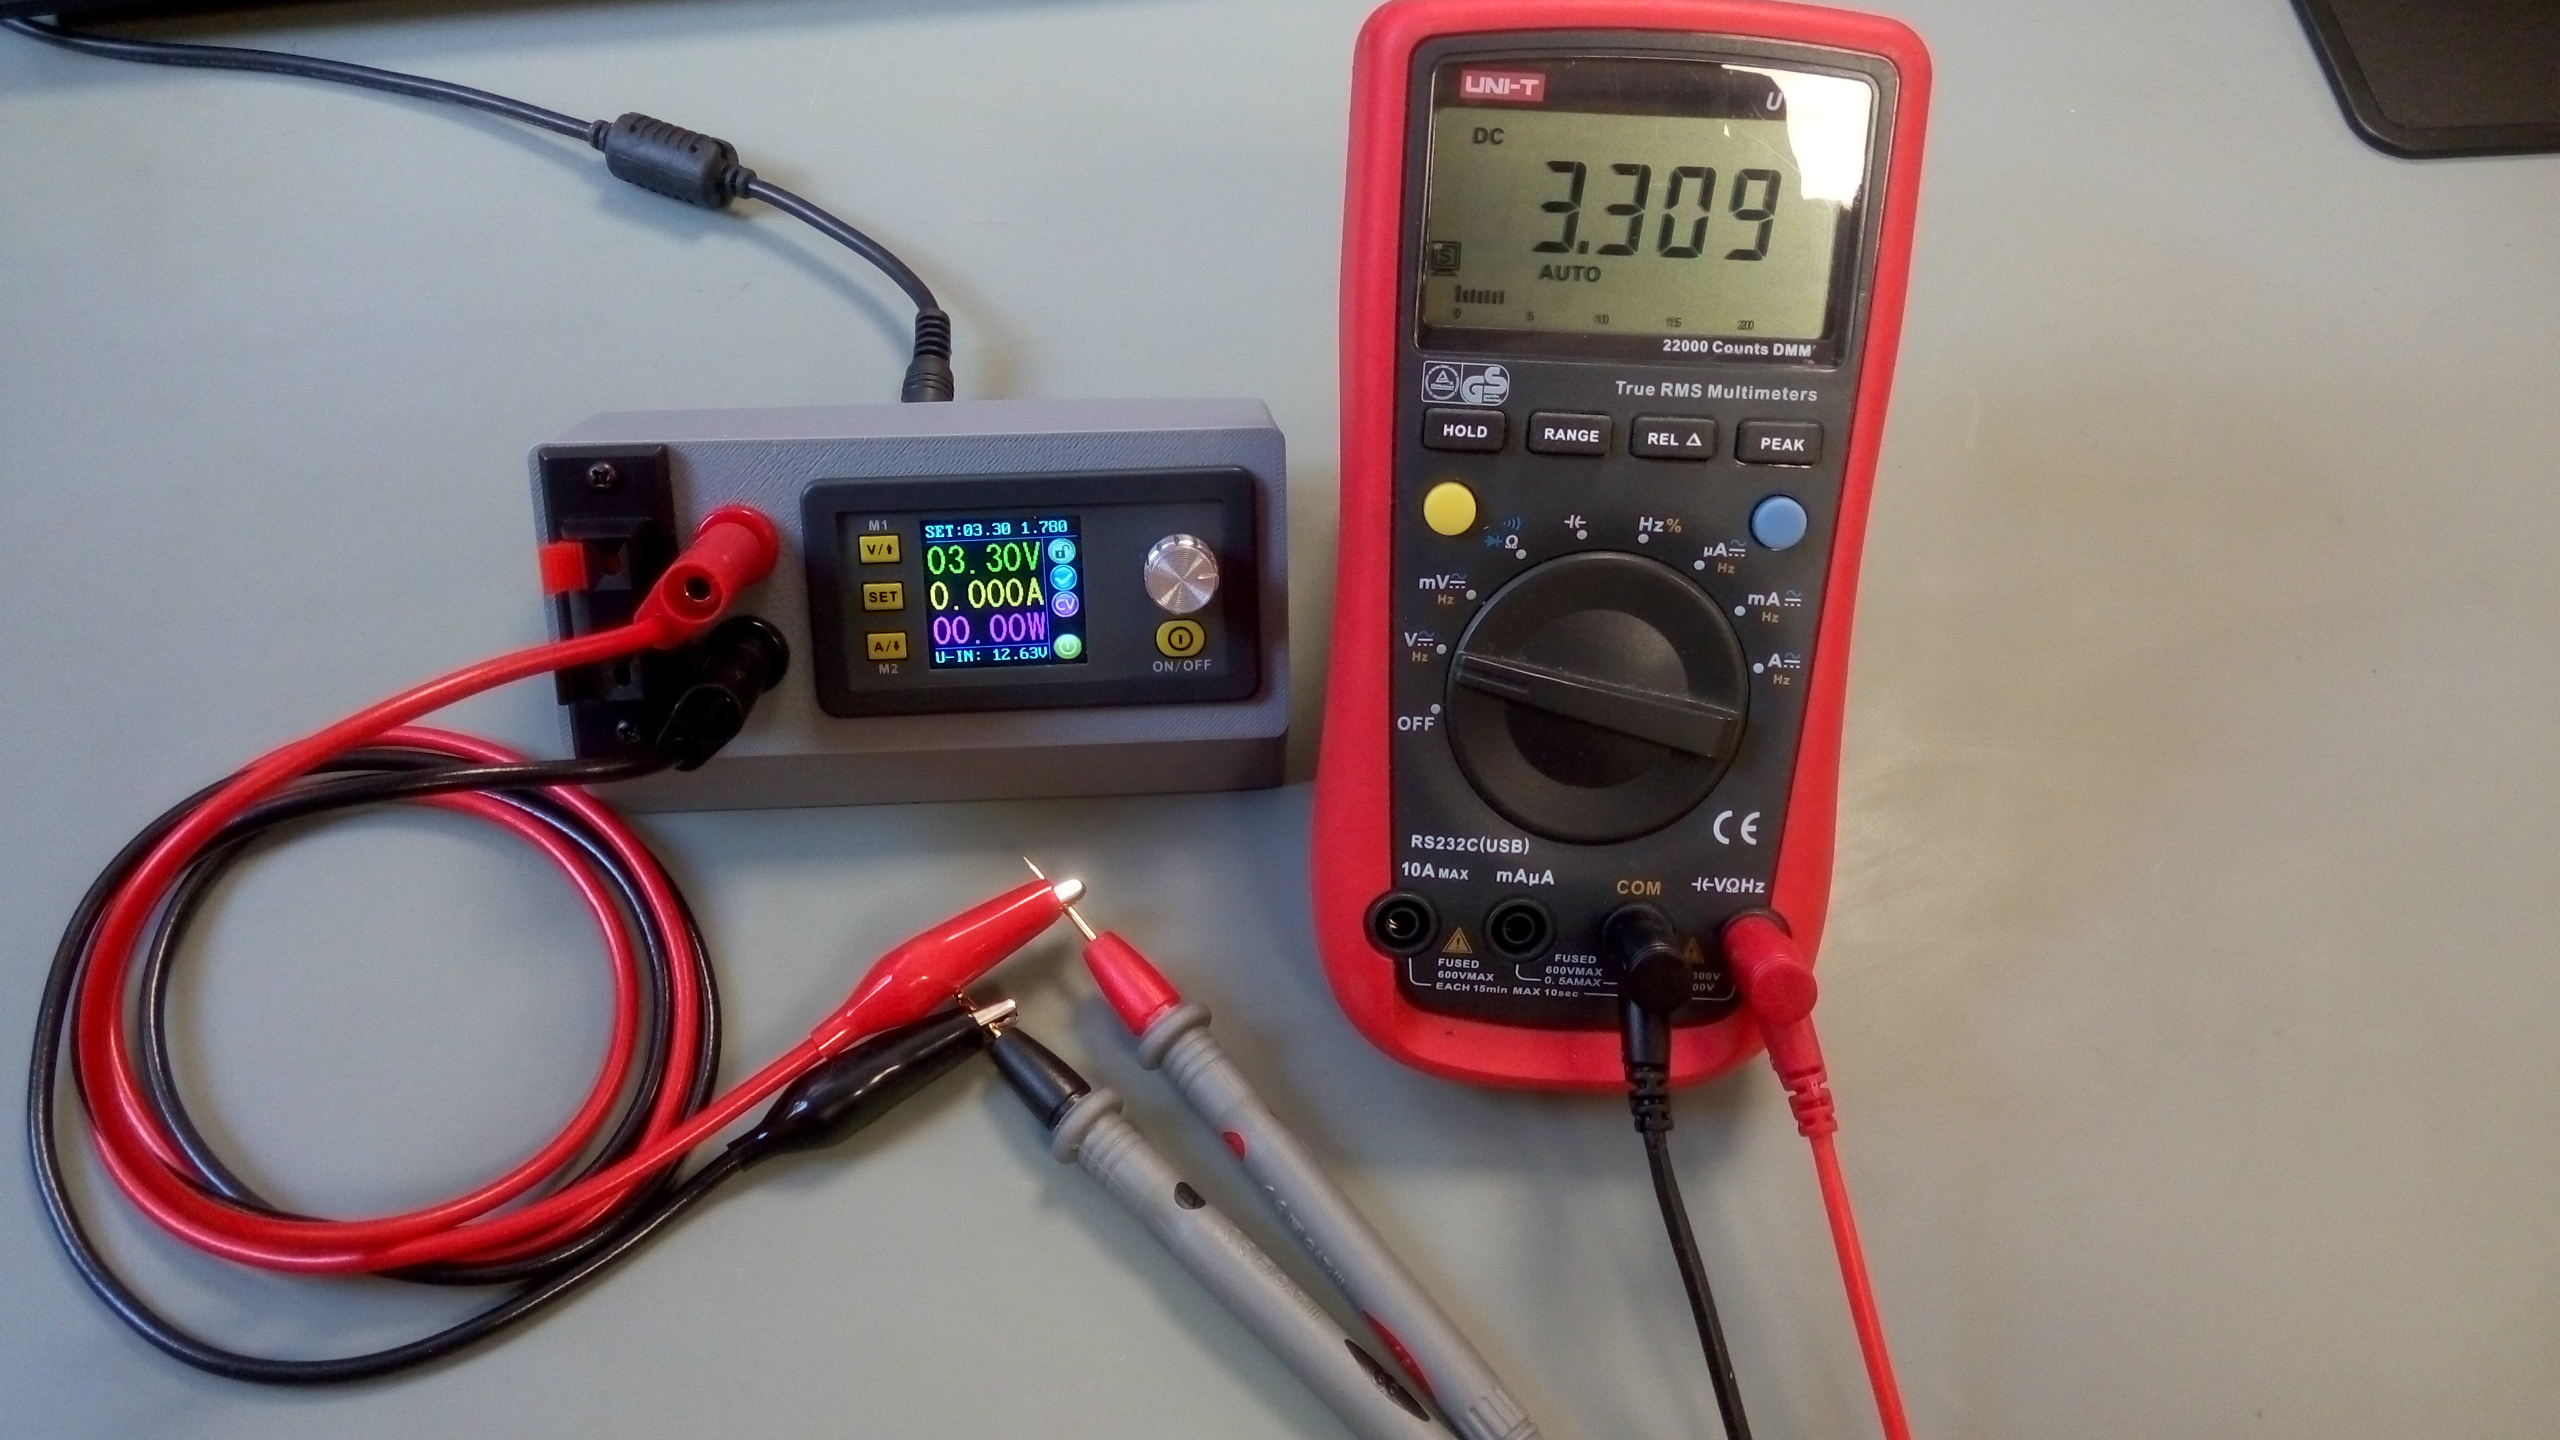
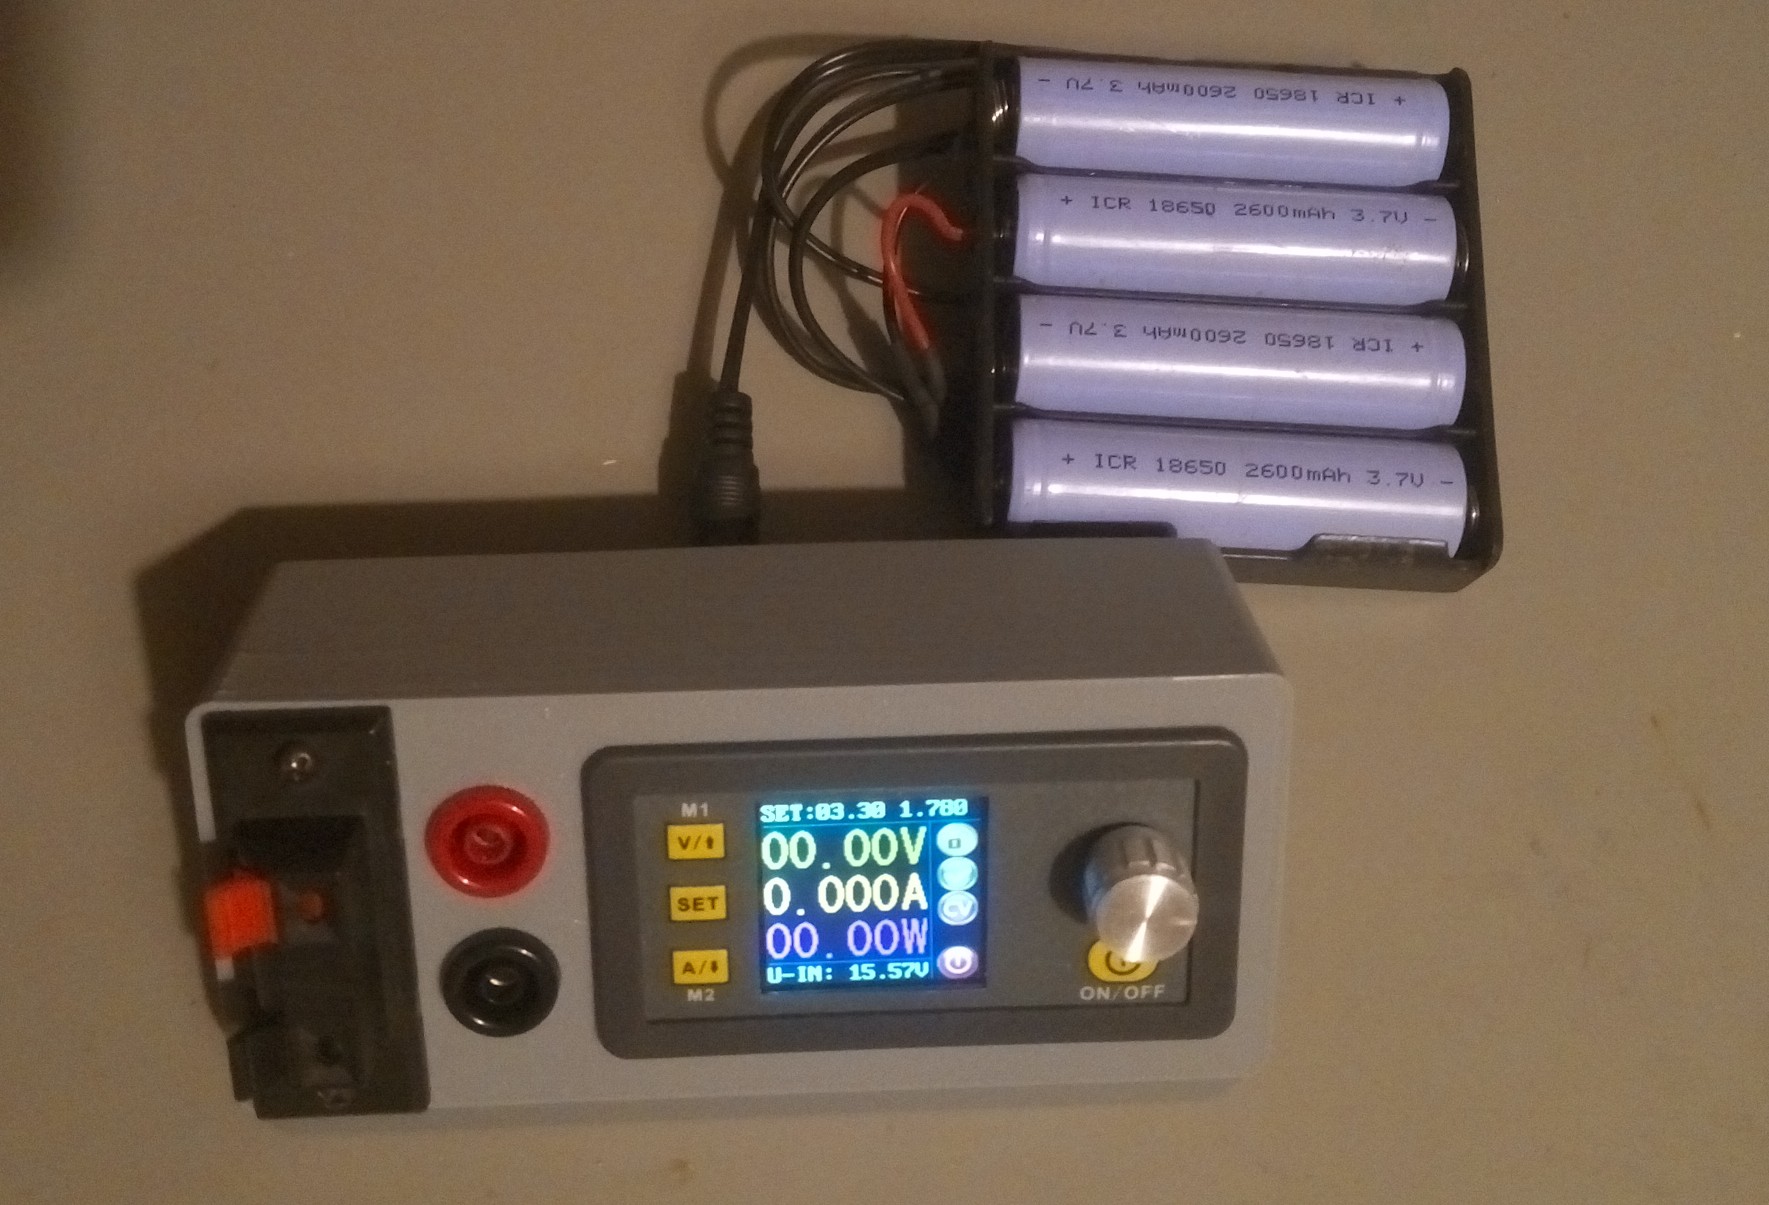
Here is a small DIY project, for a portable/bench-top power supply. We are not aiming for the best regulation, neither most power. But portability and bench-top estate optimisation.


 NASA_workmanship_standard_pictorial_reference.pdf